Shrimp and Grits Casserole

This Post May Contain Affiliate Links. Please Read My Disclosure
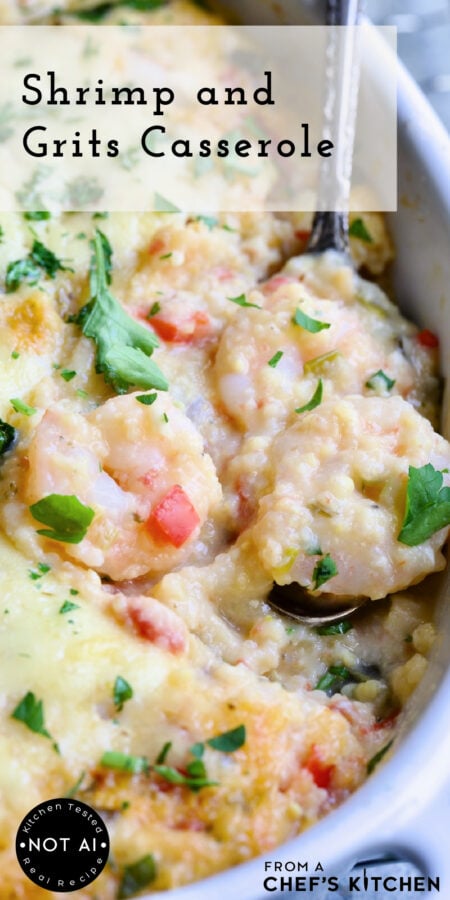
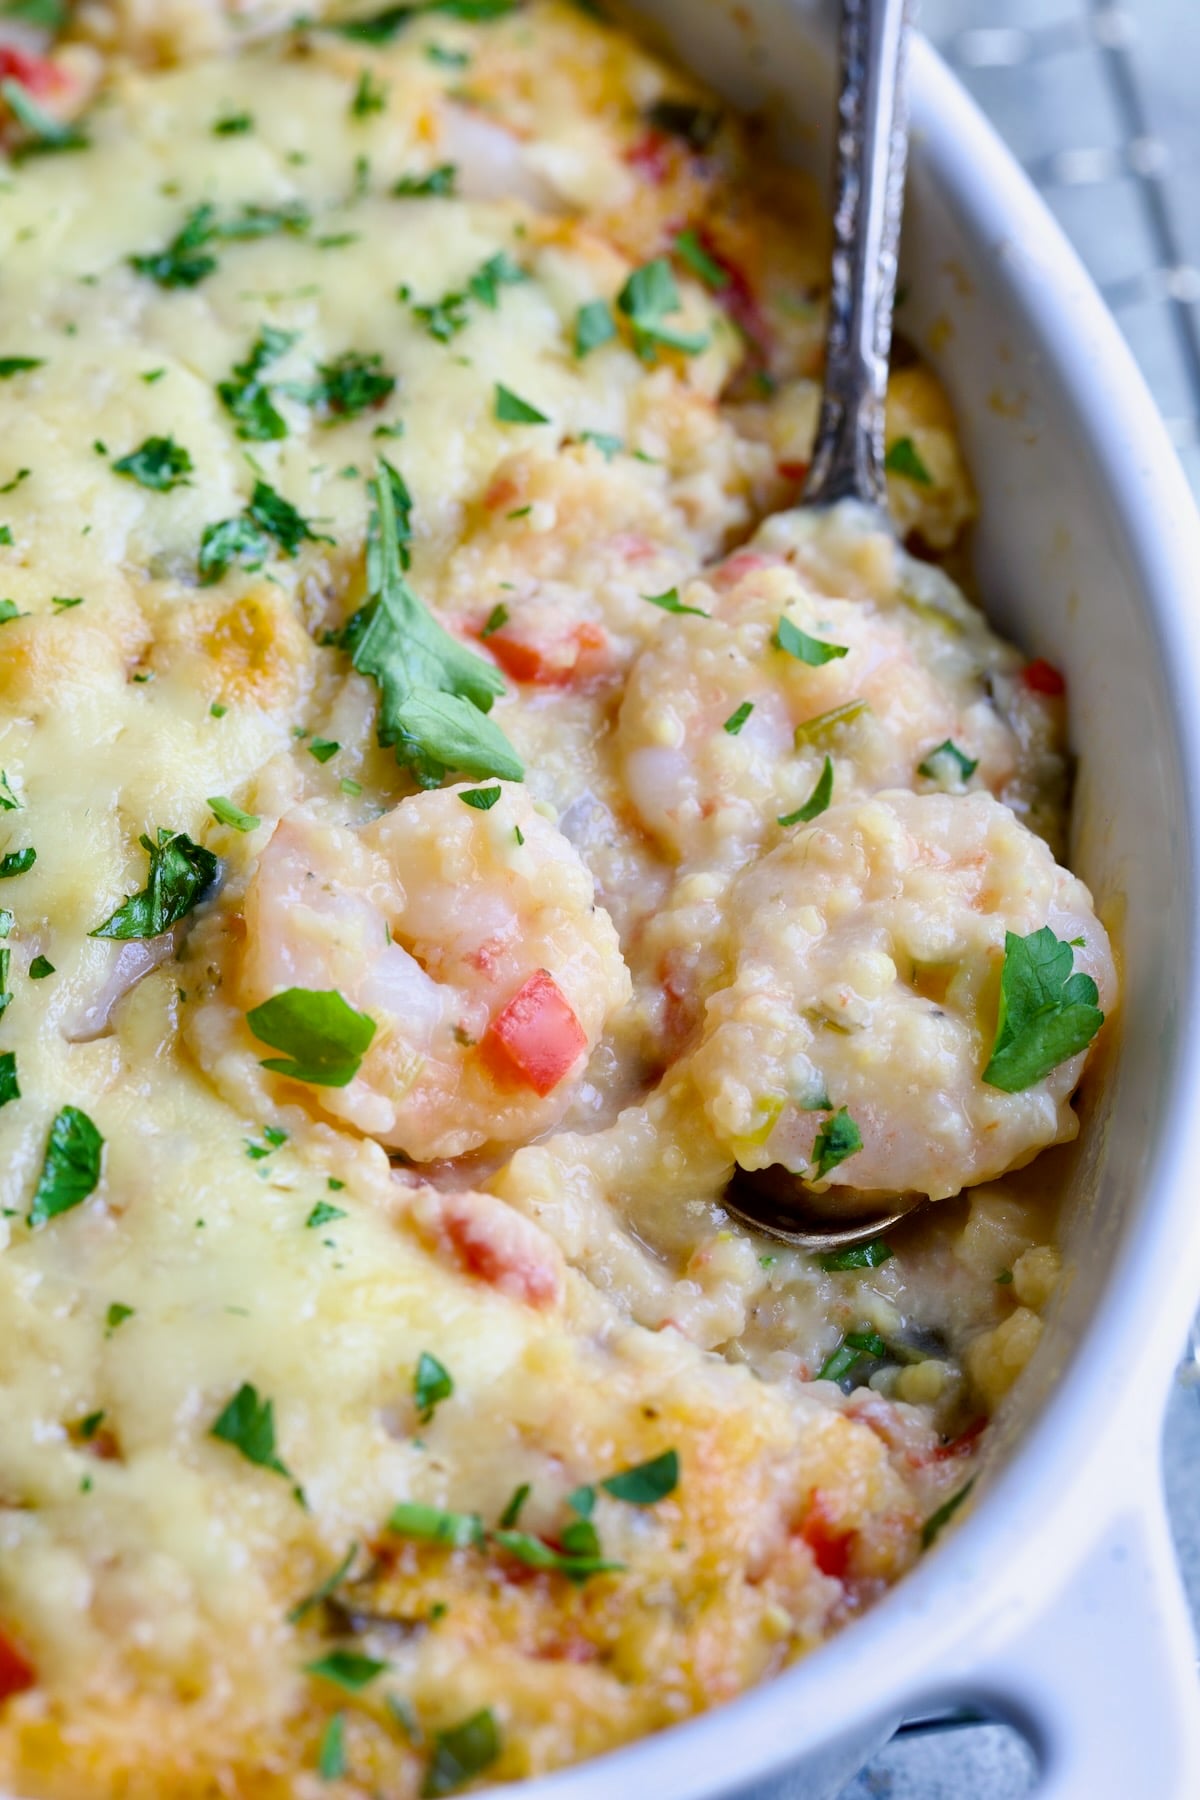
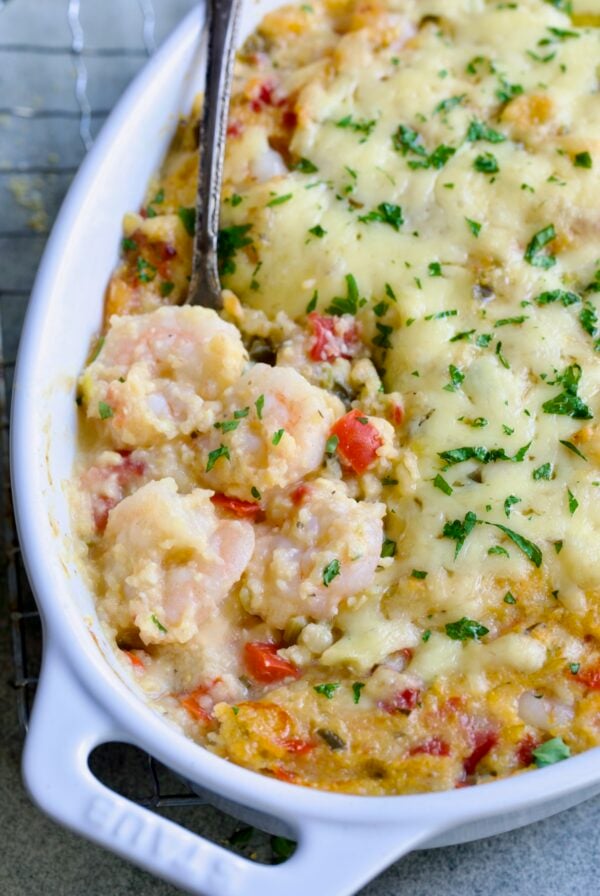
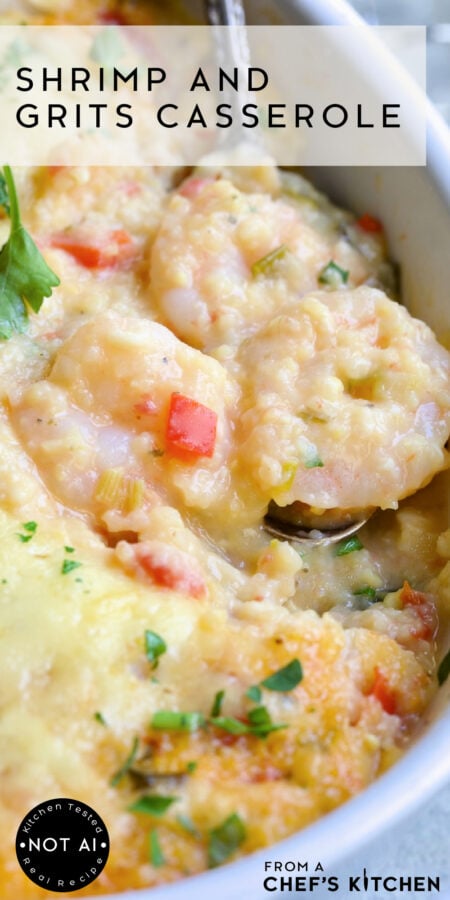
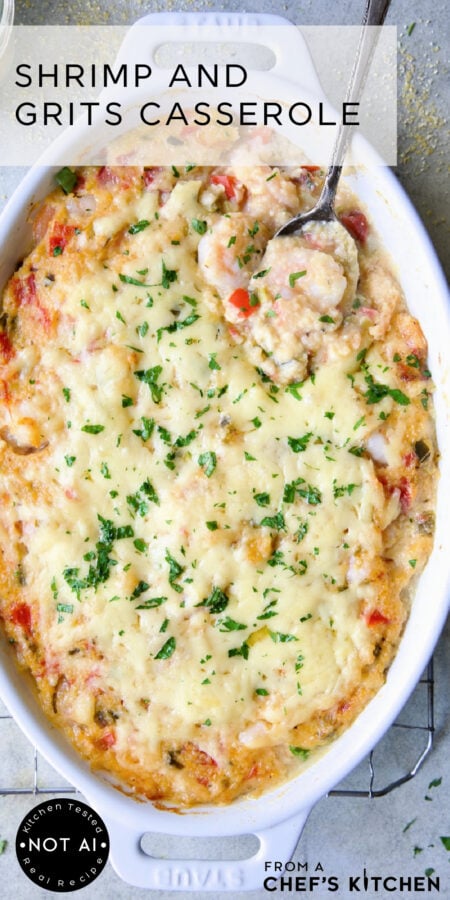
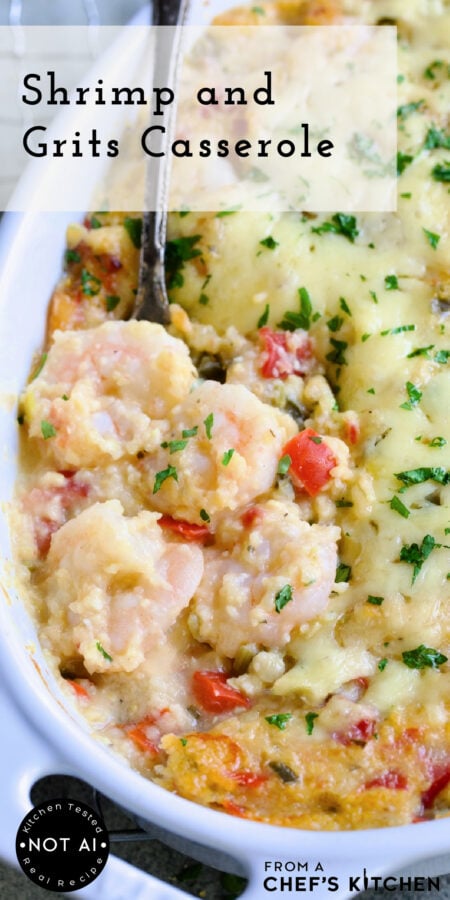
This spicy Shrimp and Grits Casserole is a tried-and-true twist on a Southern comfort food classic. Creamy grits, tender shrimp, melted Gouda, and a little heat come together in an easy, oven-baked dish that’s perfect for weeknights or casual entertaining. It’s the kind of crowd-pleasing dish that feels right at home on any table!
“Oh, my word! I made this–first time cooking grits. It is literally out of this world! Reheats well also. Will make again and again!”
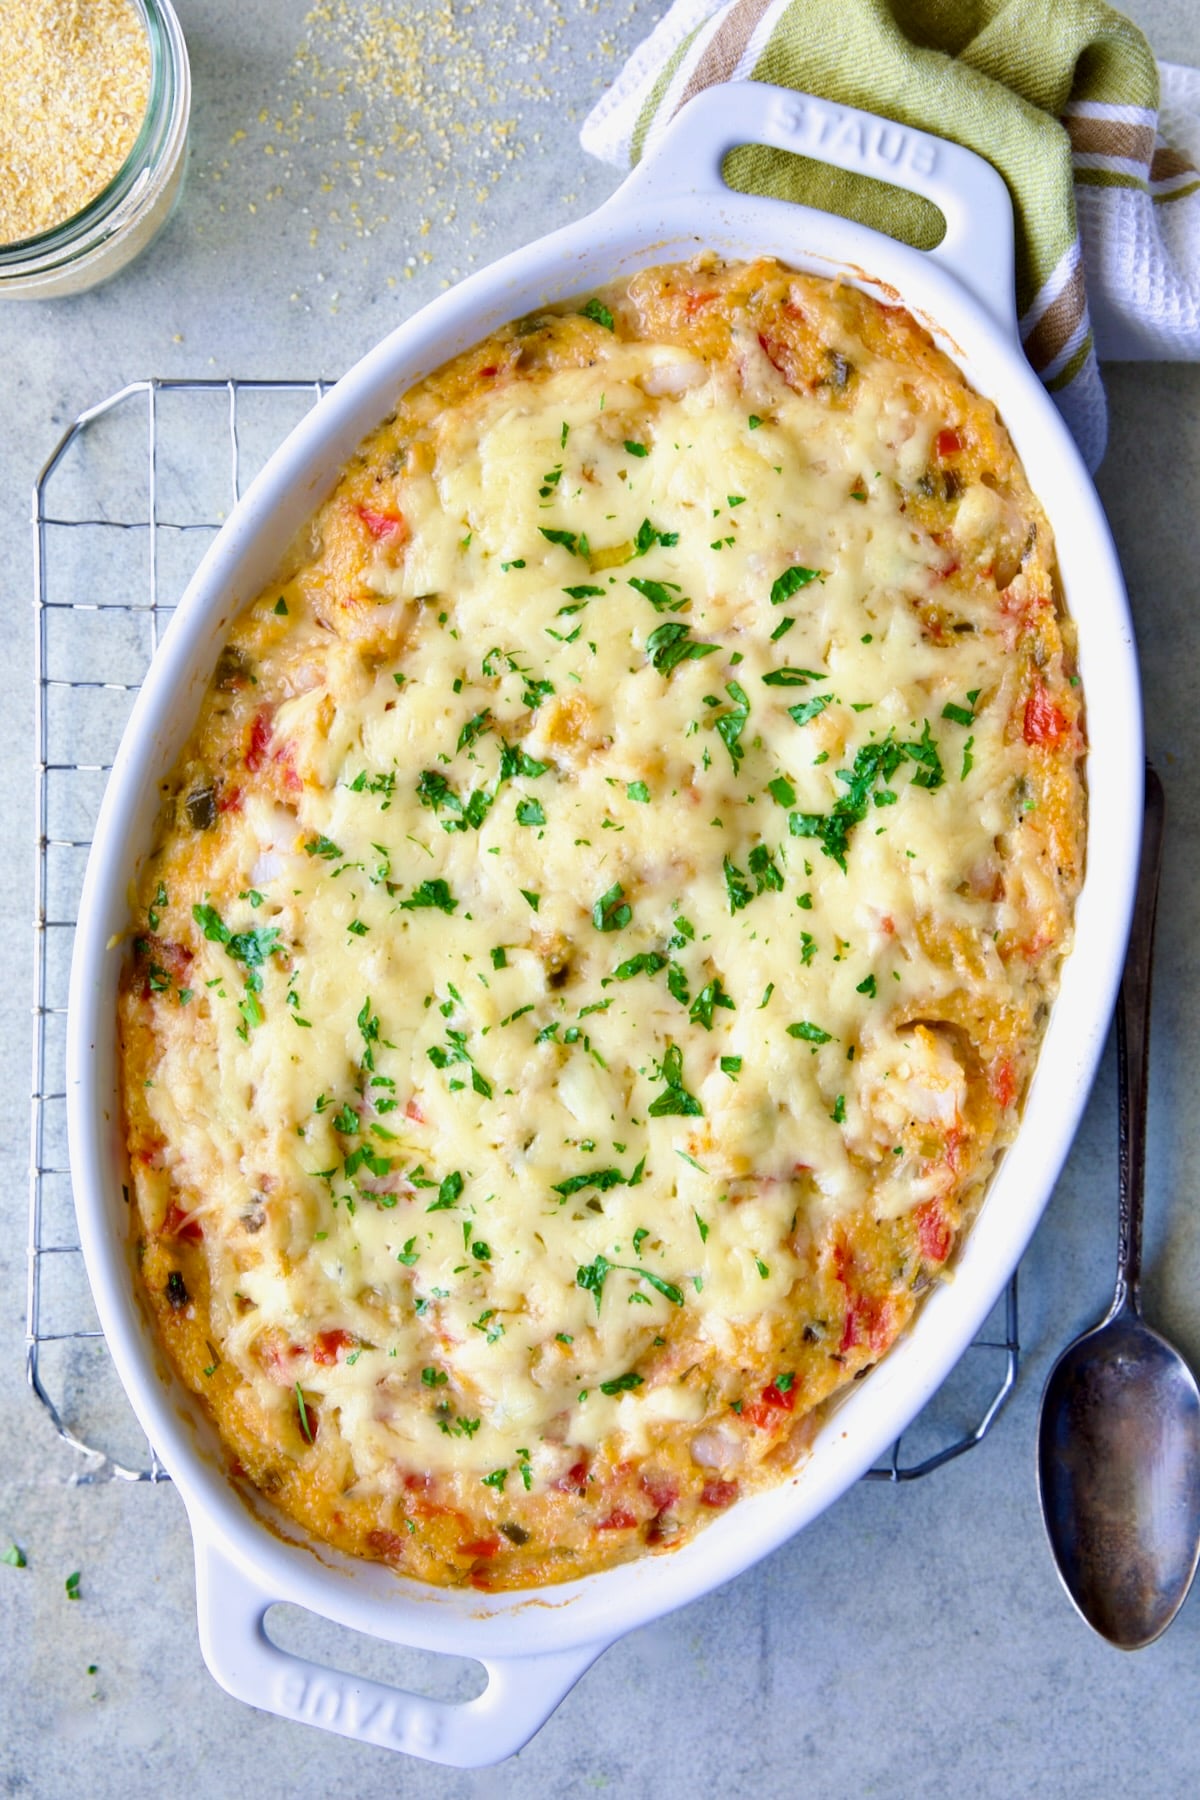
a brief intro to shrimp and grits:
Shrimp and grits is a classic dish in Southern coastal cuisine which features a creamy ground corn porridge that resembles polenta.
Although the true birthplace of shrimp and grits is thought to be Charleston, South Carolina, it has since gained widespread popularity. This dish was even declared the official state food of South Carolina in 1976.
Initially intended as a breakfast dish for fishermen, it has evolved to become a favorite option for lunch, brunch, and dinner across the Southern United States. Here’s that classic combination in casserole form.
Why This Recipe is a Keeper!
Whether you’re hosting a family dinner or looking for a new comfort dish to enjoy, this shrimp and grits casserole hits all the right notes!
Before moving to the South 30 years ago, I never had grits, nor shrimp and grits. Frankly, grits scared me because I thought them to be bland and boring.
I finally tried them some years back when my husband and I stayed at an elegant bed-and-breakfast in Mississippi while taking the long way home from New Orleans. Breakfast was plated and served to all the guests and there they were in front of me: Grits.
Not boring at all, but creamy and delicious cheese grits!
After that day and after enjoying shrimp and grits at numerous restaurants if they’re on the menu, I’m now somewhat of a fanatic.
This Shrimp and Grits Casserole recipe is:
- A Pinterest favorite!
- Tried and true! Over 450 4 and 5-star ratings!
- Restaurant-quality!
- Ideal for entertaining! It’s perfect for brunch, lunch, or supper and equally at home on a holiday table or weeknight.
- Endlessly adaptable! You can dial it up or down depending on your audience with smoked gouda or pepperjack cheese. Add andouille or ham for smokier depth. Crab, anyone?
- Make-ahead! Unlike traditional shrimp and grits, the casserole format allows you to prep components in advance and bake when needed, making it ideal for brunches, holidays, or entertaining.
Creamy, crowd-pleasing, and versatile, it’s the kind of dish that earns a permanent spot in your entertaining rotation!
How to Make shrimp and grits casserole:
Recipe Ingredients:
Here’s everything you’ll need to make this shrimp and grits casserole recipe. The exact quantities are on the recipe card below.
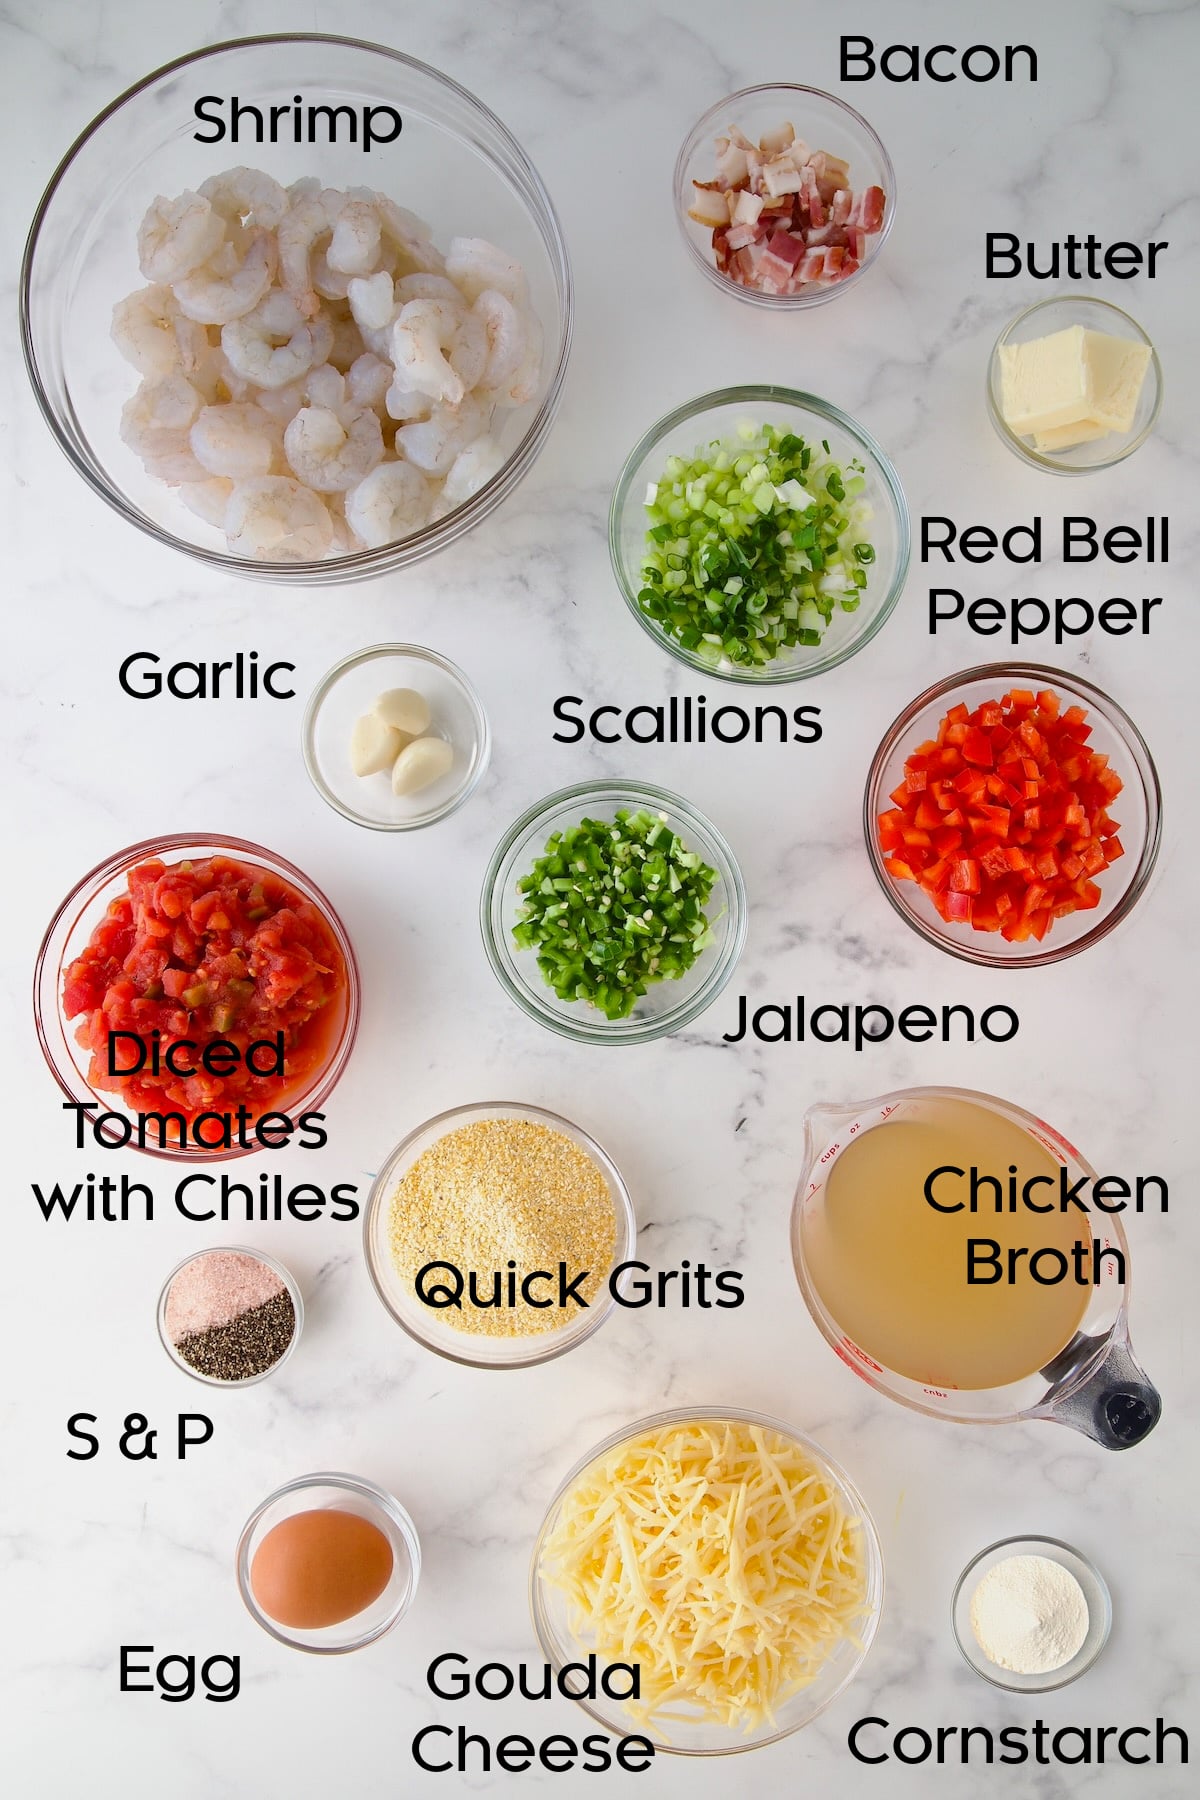
Ingredient Notes and Substitutions:
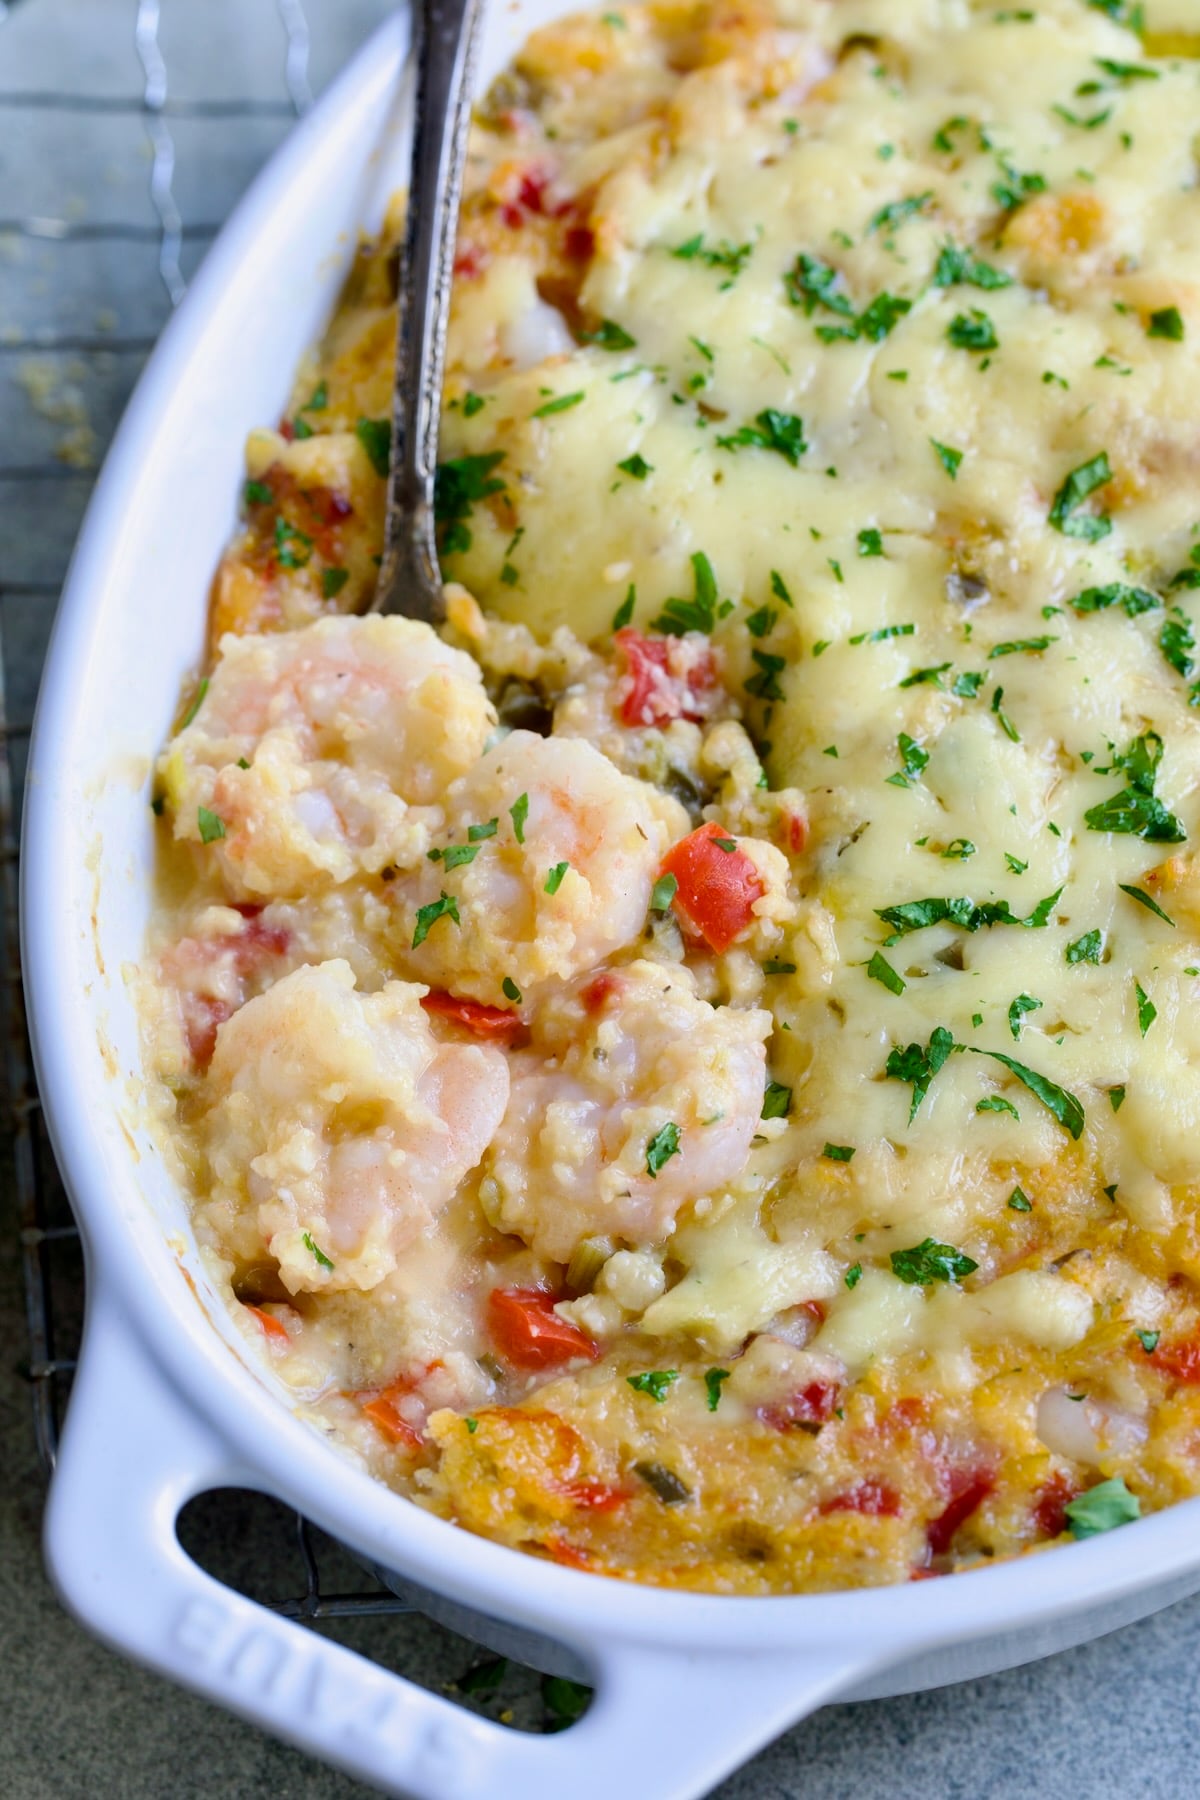
- Shrimp: It’s essential to always use wild-caught U. S. Gulf shrimp. They are much more resilient to reheating in a casserole, unlike farmed shrimp, which most certainly will become rubbery. I used 31-40 count, which is considered “medium-large.” You can use larger shrimp or smaller shrimp. However, I found the 31-40 count medium-large to be the right size–substantial, yet easy to manage on the plate.
- Bacon: If you don’t consume pork, use turkey or beef bacon. You can also use diced andouille sausage.
- Diced Tomatoes with Green Chiles: This shrimp and grits casserole recipe calls for a 10-ounce can such as Ro-Tel. You can substitute regular petite-diced tomatoes if you want to dial down the heat. Drain them well as the additional liquid could result in a soupy result.
- Jalapeno: Use as little or as much as you wish. Removing the seeds will cut the heat if you want a milder casserole.
- Quick Grits: Quick-cooking grits (not instant) work well in a casserole like this because of the other textures. Stone-ground grits will take much longer to cook, so cook them separately first, following the package directions, then add the vegetable combination and the remaining ingredients. I don’t recommend instant for this dish. They cook too fast and can turn mushy quickly.
- Chicken Broth: Can also use fish stock.
- Gouda Cheese: Gouda cheese melts beautifully and has a mild flavor, so it doesn’t compete with the shrimp. Smoked Gouda, Monterey Jack, or Pepperjack will also work well.
- Cornstarch: Helps to thicken and reinforce the casserole’s structure without changing the flavor. Also keeps it gluten-free.
Step-By-Step Instructions:
- Gather and prep all the ingredients.
- Preheat the oven to 375 degrees.
- Lightly grease a 1 1/2 – 2-quart baking dish with oil, butter or cooking spray. Set aside.
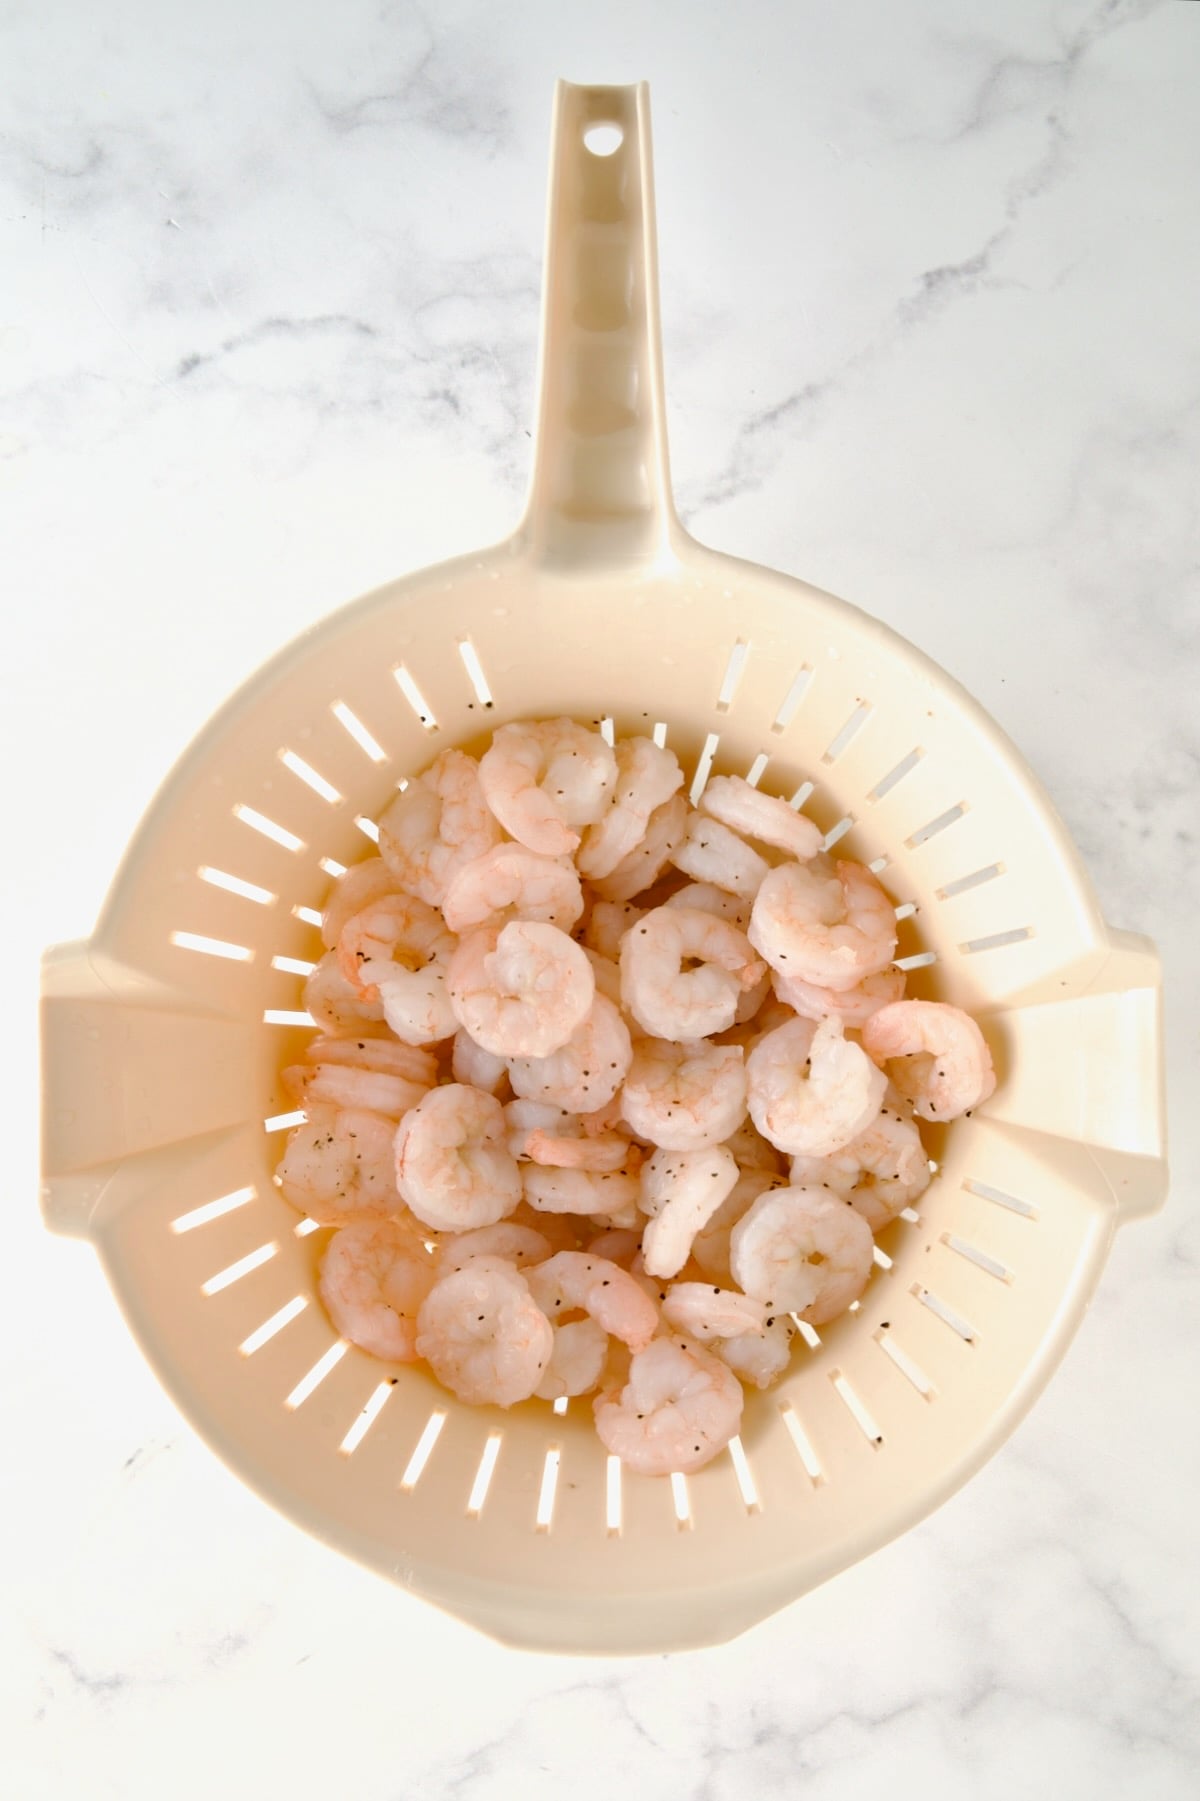
- Cook the shrimp: Place a colander in the sink to drain the shrimp. Then, bring a large, heavy saucepan of well-salted water (about 2 teaspoons) to a boil. Turn off the heat, add the shrimp, and cook for 10 to 15 seconds, or until they turn pink, stirring once or twice. Drain immediately into the colander and cool quickly under cold tap water. Alternatively, prepare an ice bath and cool the shrimp in that. Drain the shrimp and pat dry.
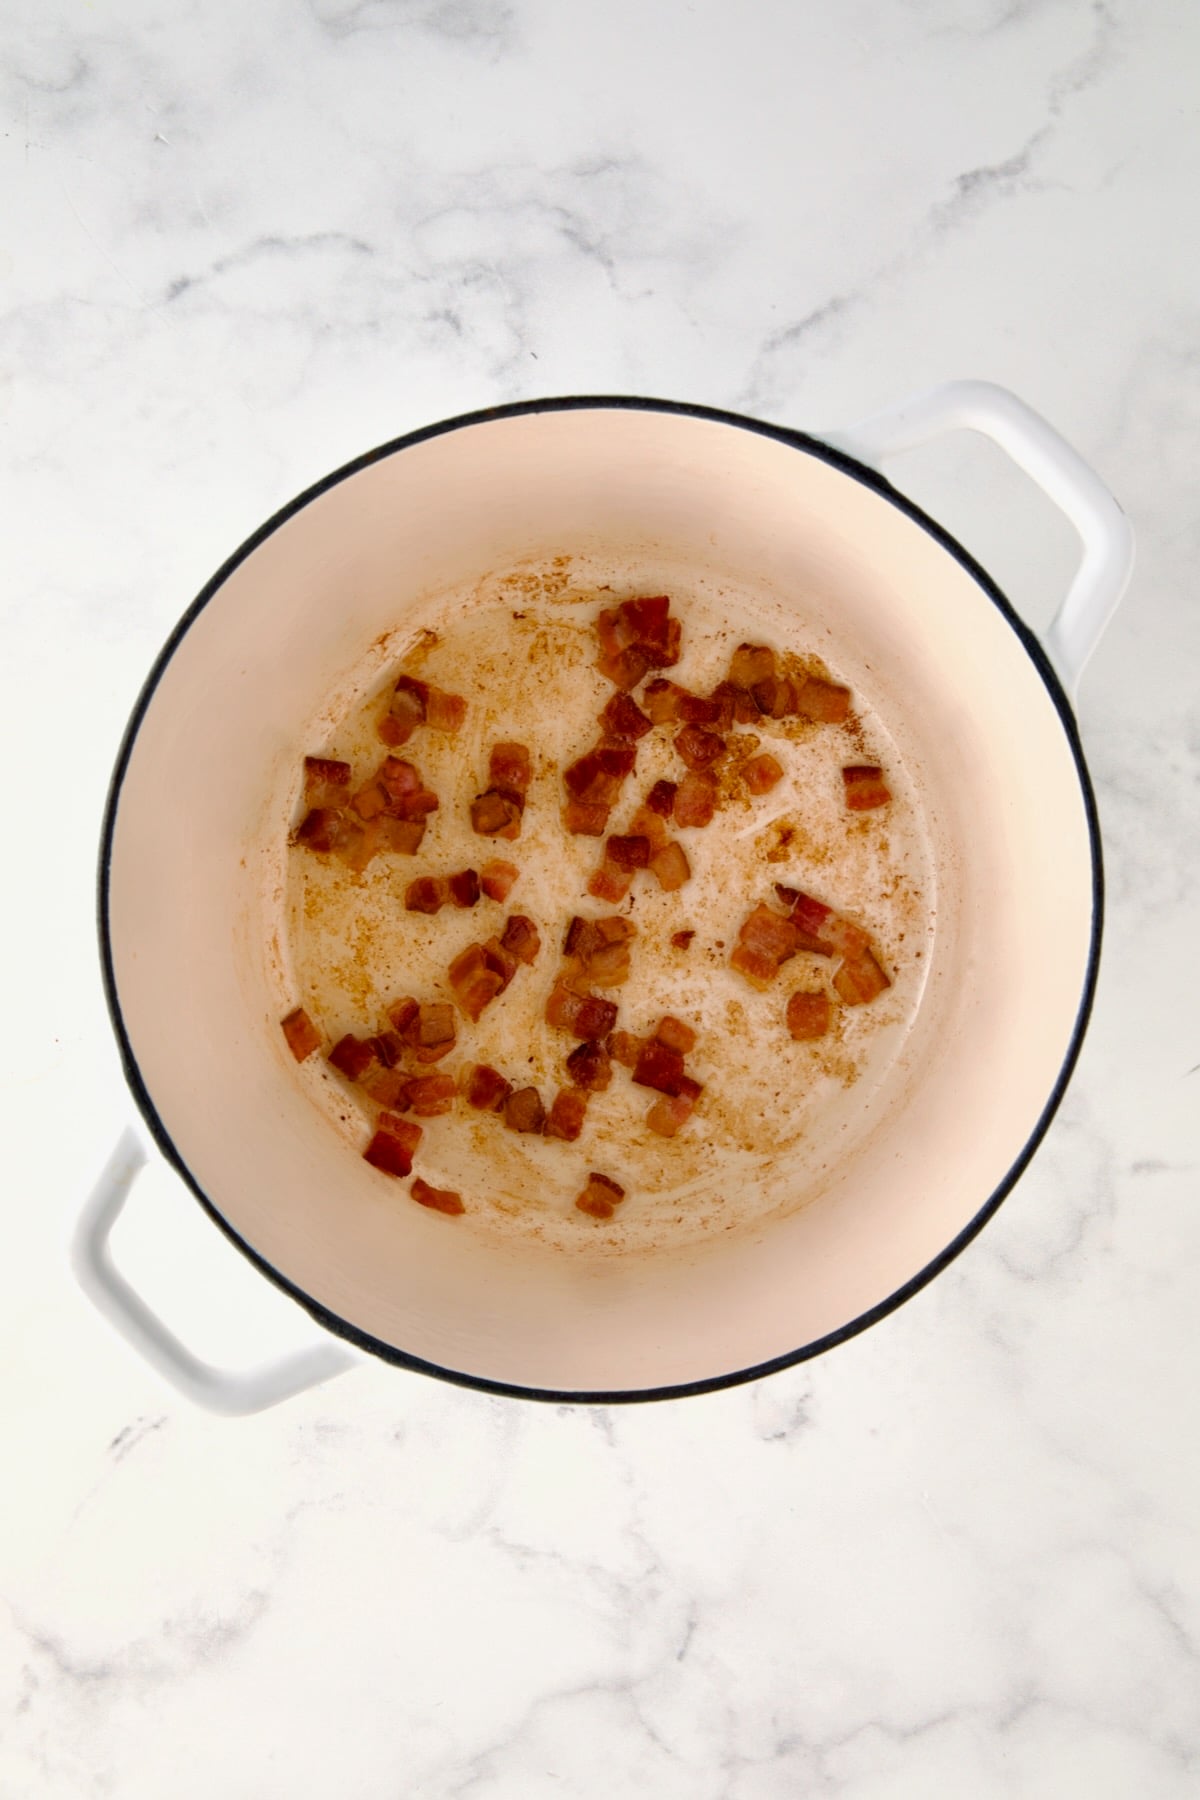
- In a heavy saucepan, cook the bacon over medium heat until browned and crispy. Transfer the bacon to a paper towel-lined plate with a slotted spoon, reserving the drippings in the saucepan.
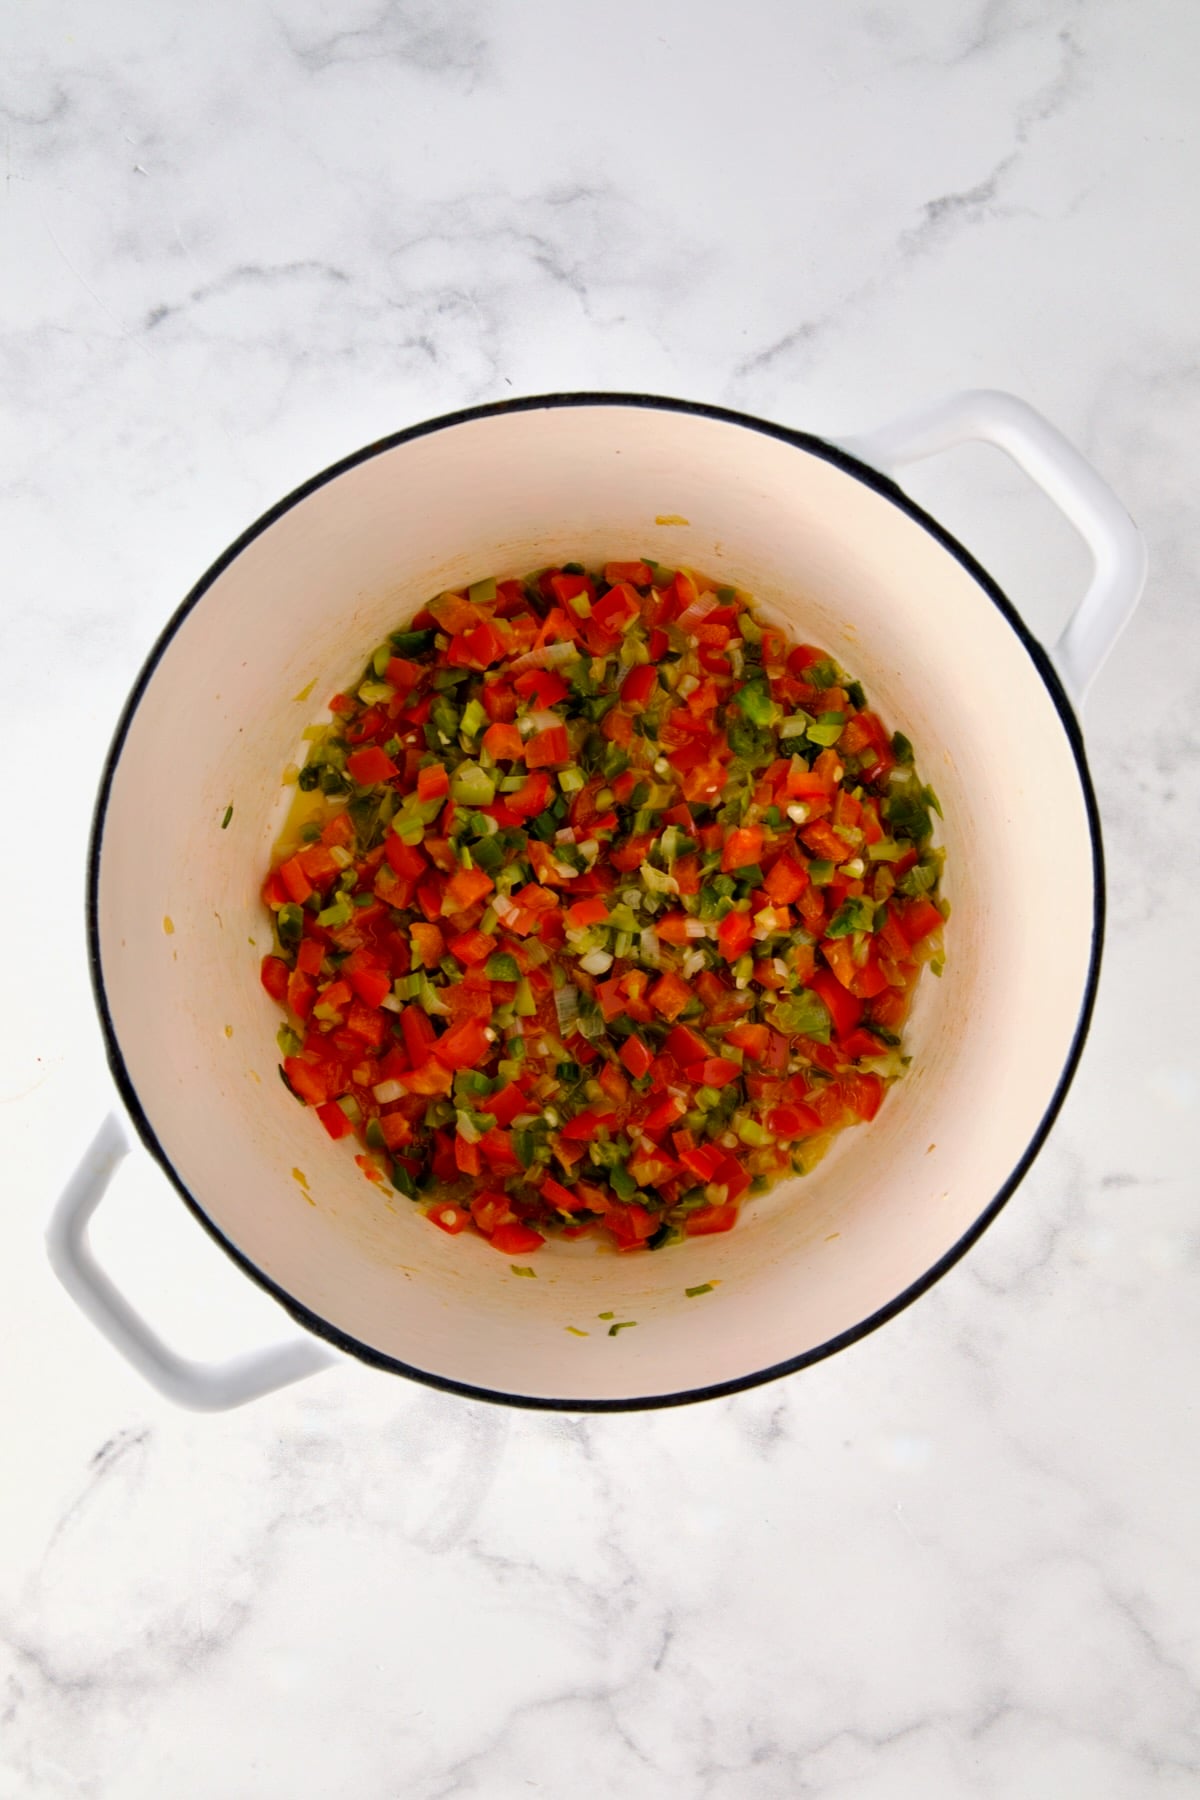
- Keep the heat on medium and add the butter to the bacon drippings. When melted, add the scallion, red bell pepper, and jalapeño pepper. Cook for 4 to 5 minutes or until softened.
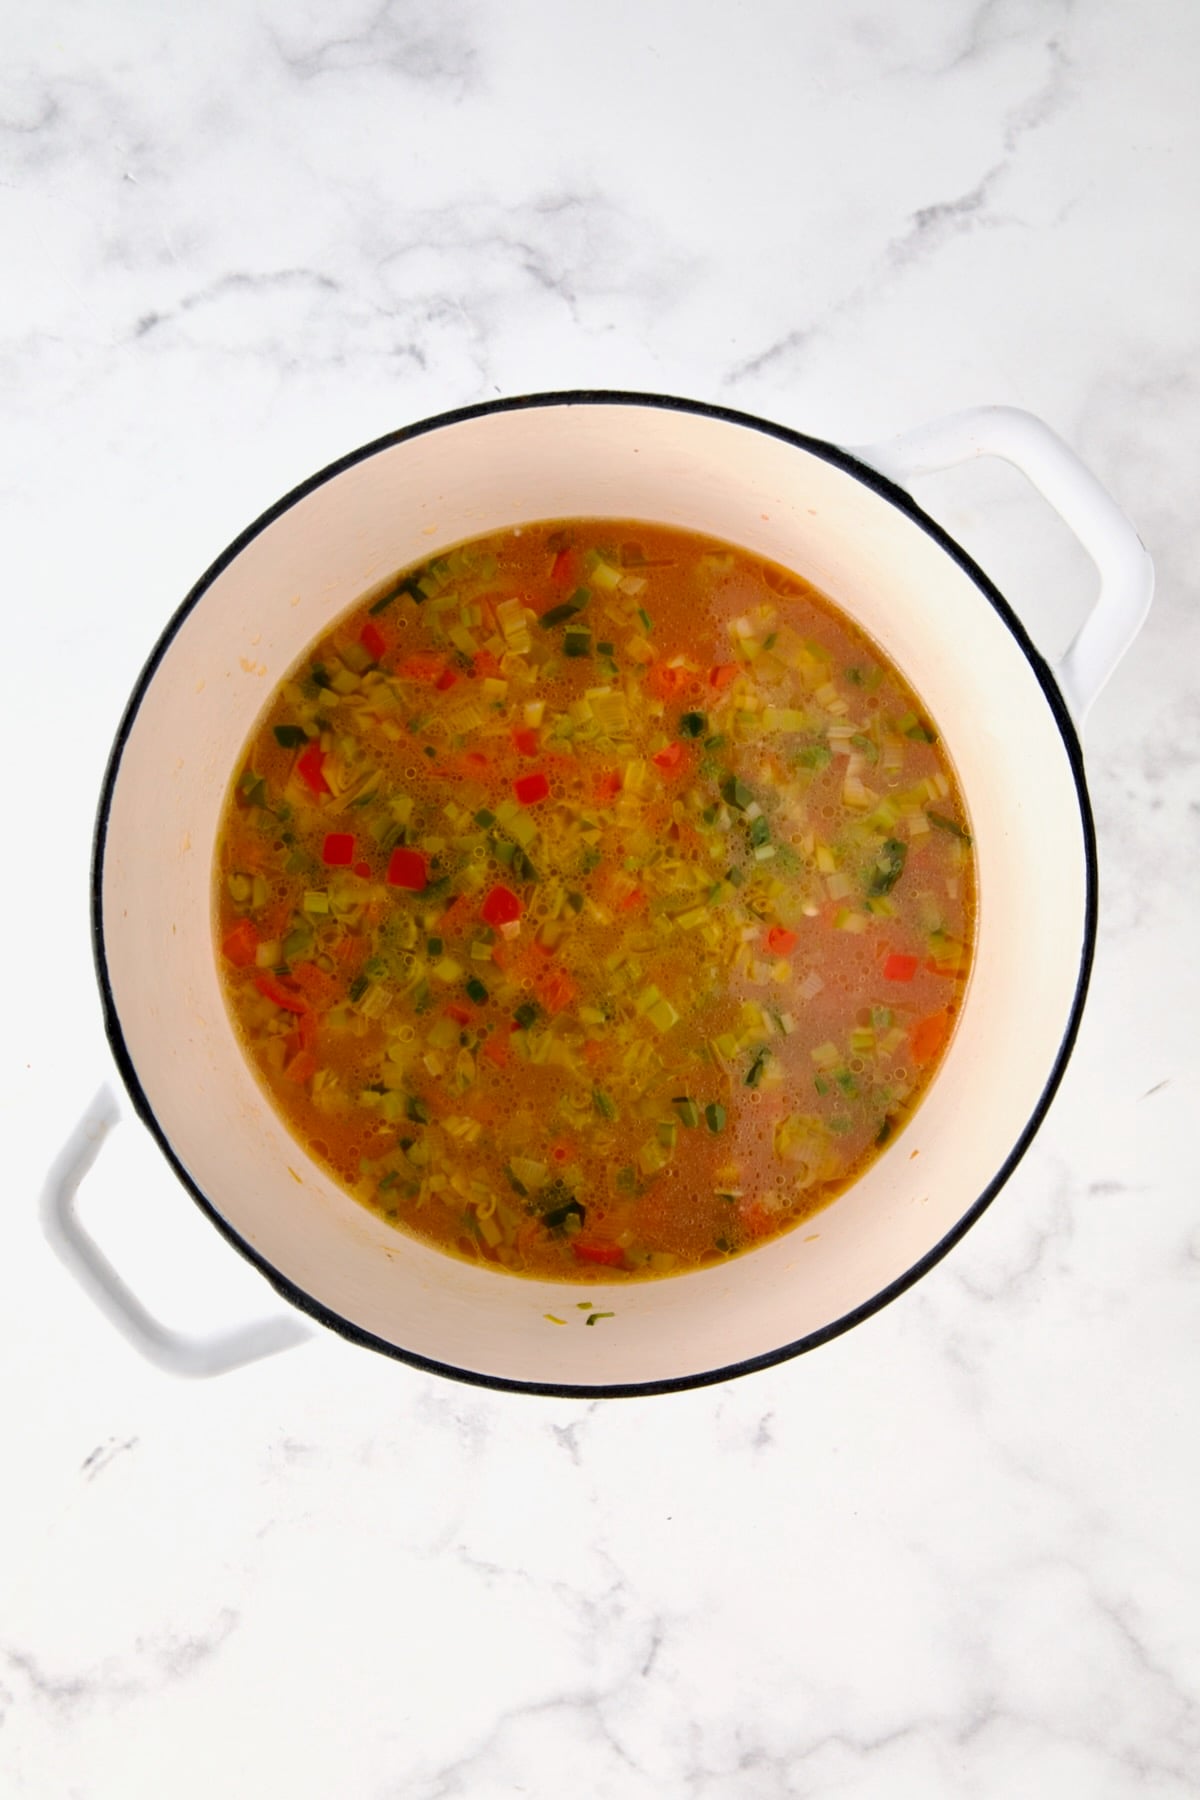
- Stir in garlic, diced tomatoes with chiles, and chicken broth (or fish stock). Bring to a boil.
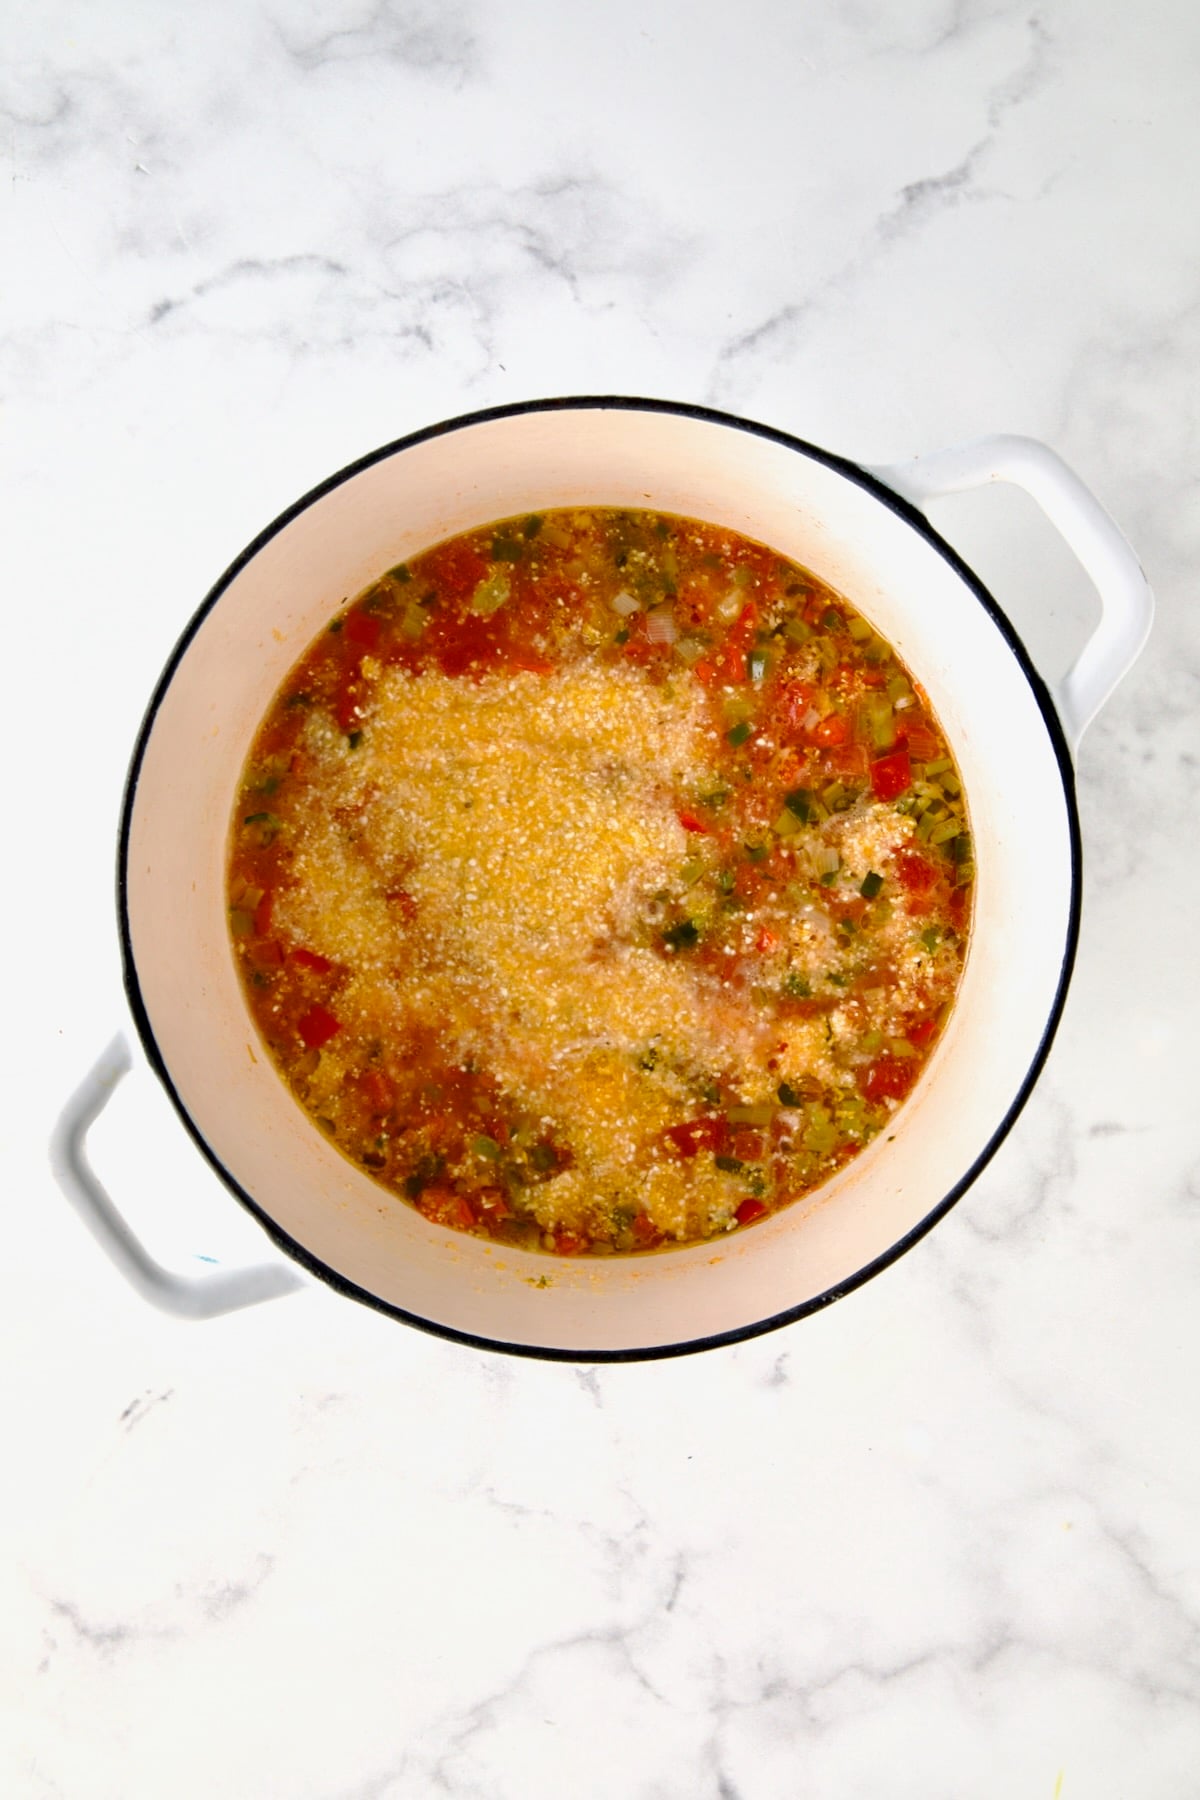
- Slowly stir in the grits. Return to a boil.
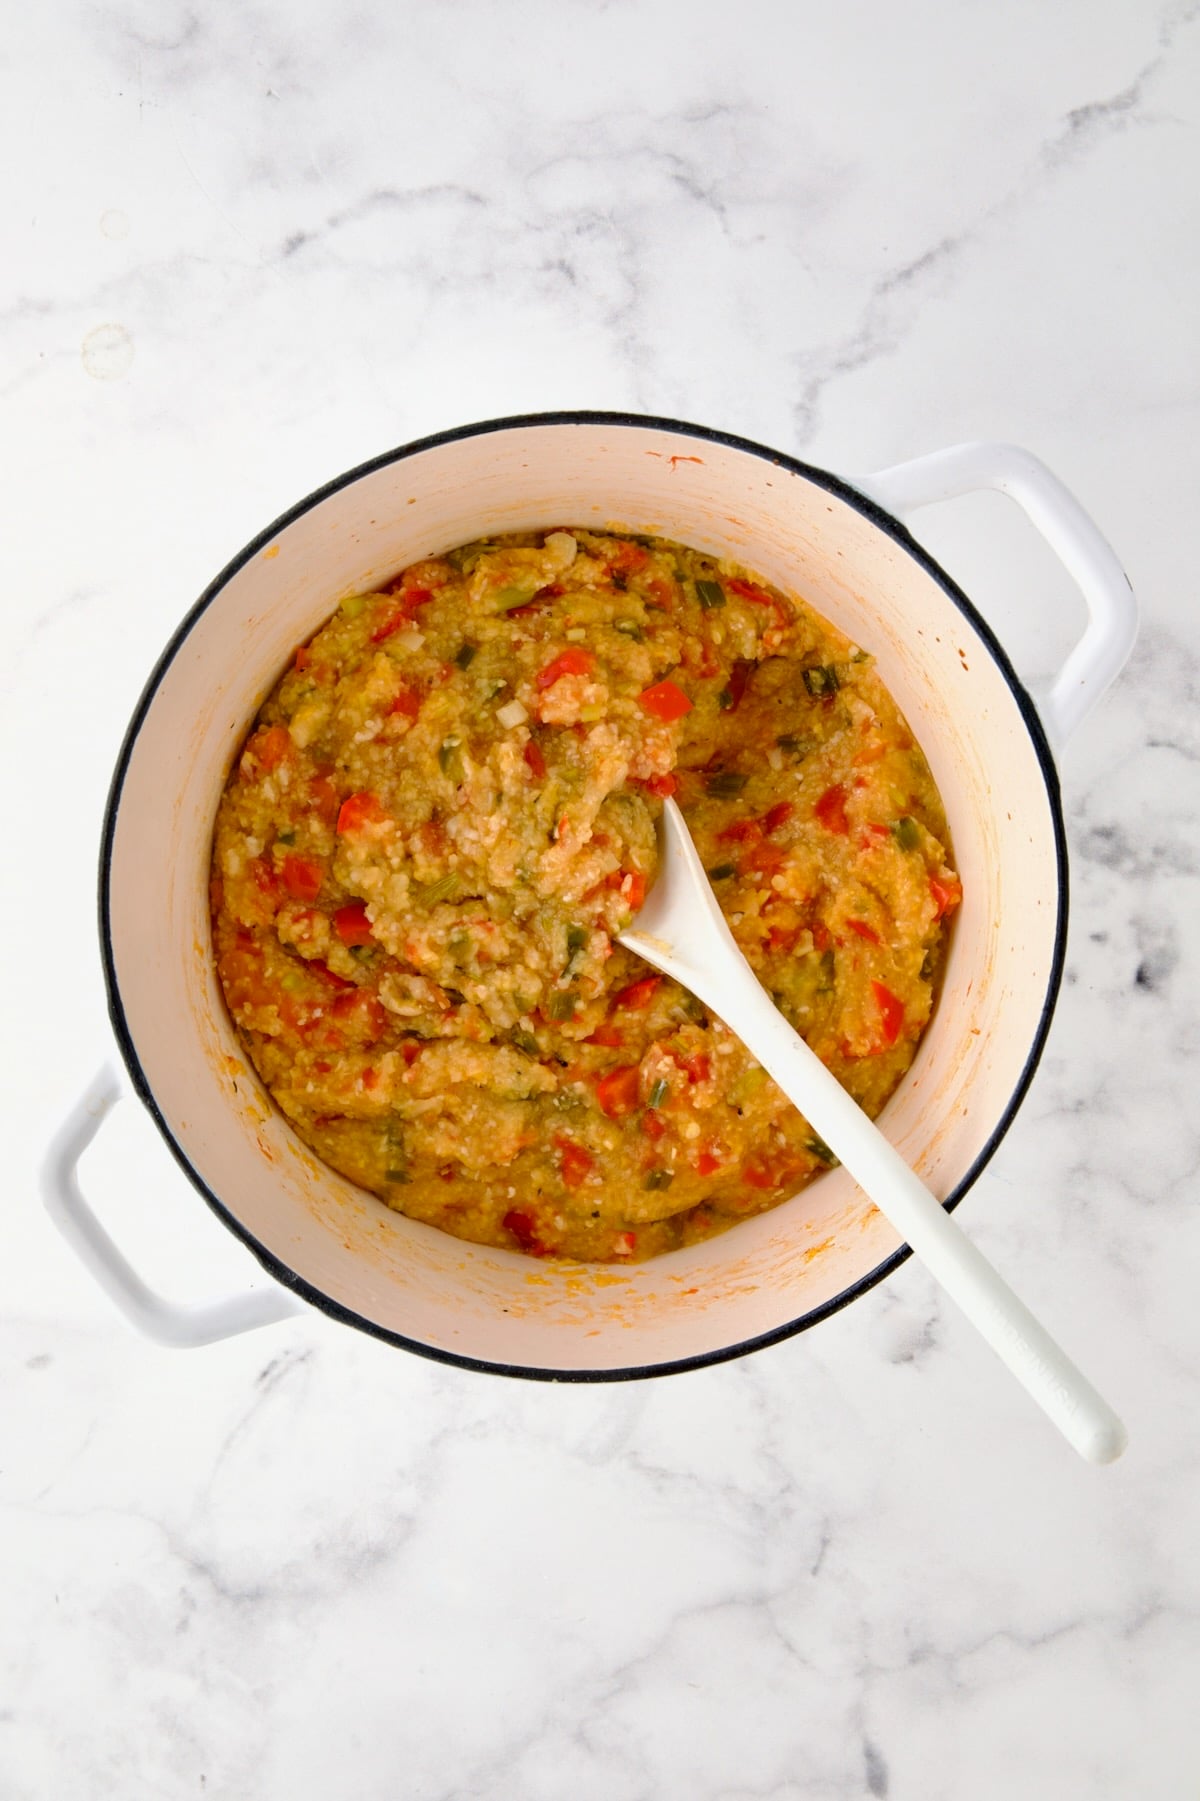
- Reduce the heat to low. Simmer, stirring occasionally, for 5 to 7 minutes or until thickened. Remove from heat and cool 15 minutes. Taste and season to taste with salt and black pepper.
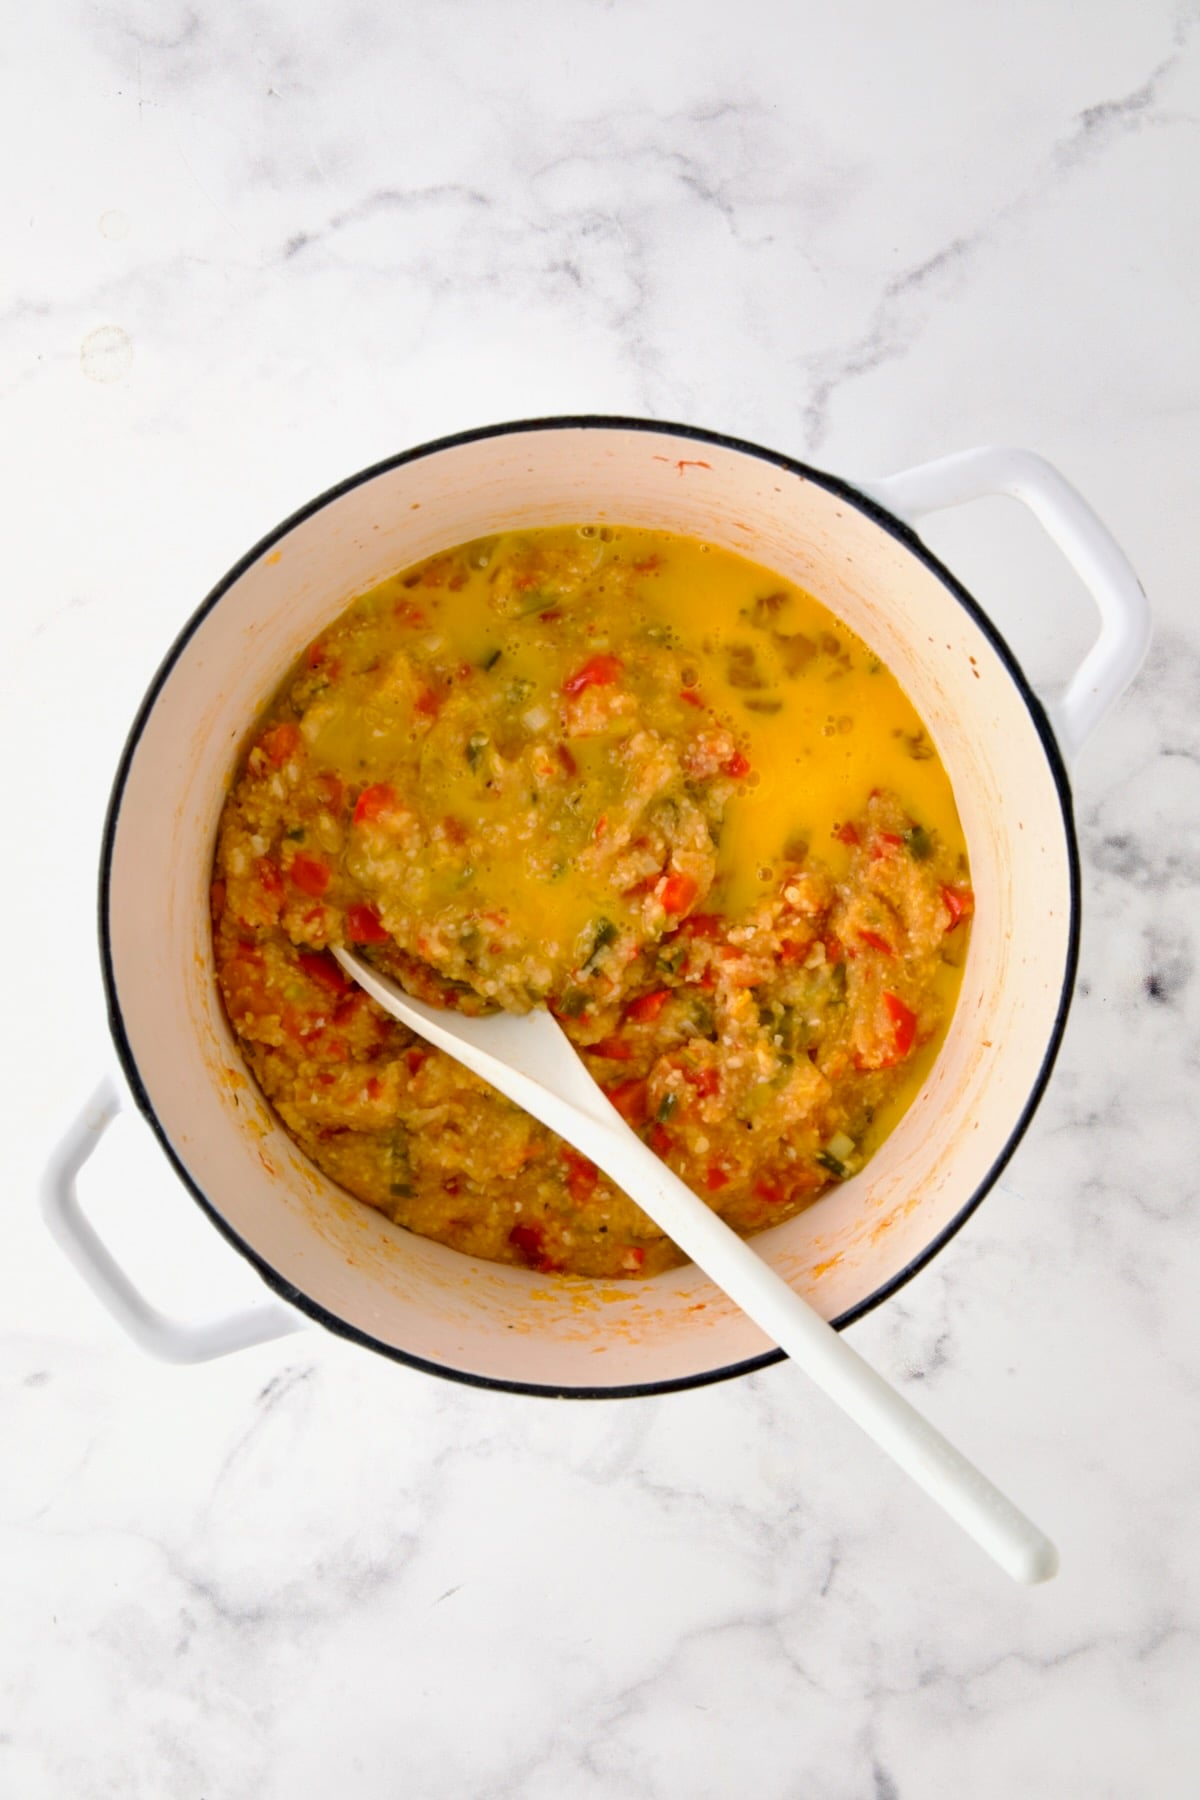
- Whisk the cornstarch into the egg, then stir it into the grits …
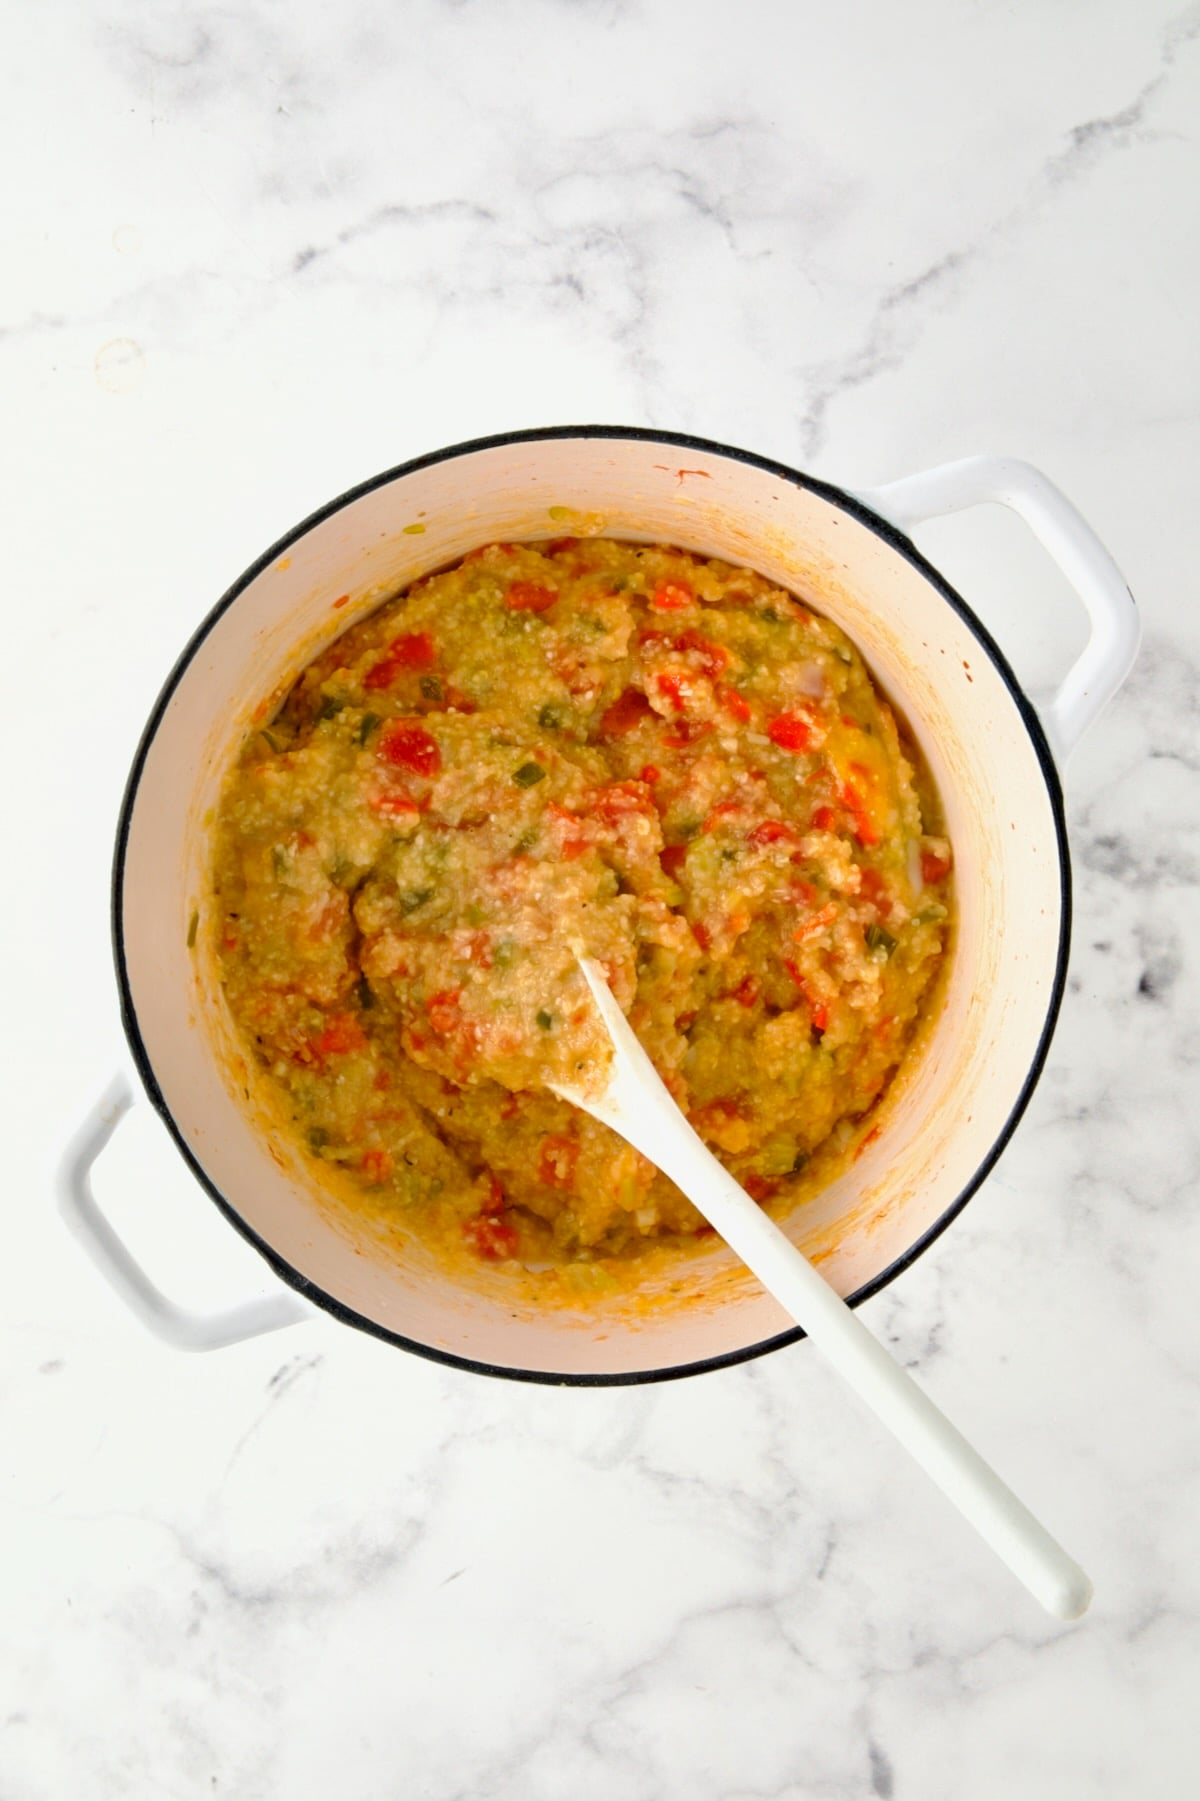
- … and fully incorporate.
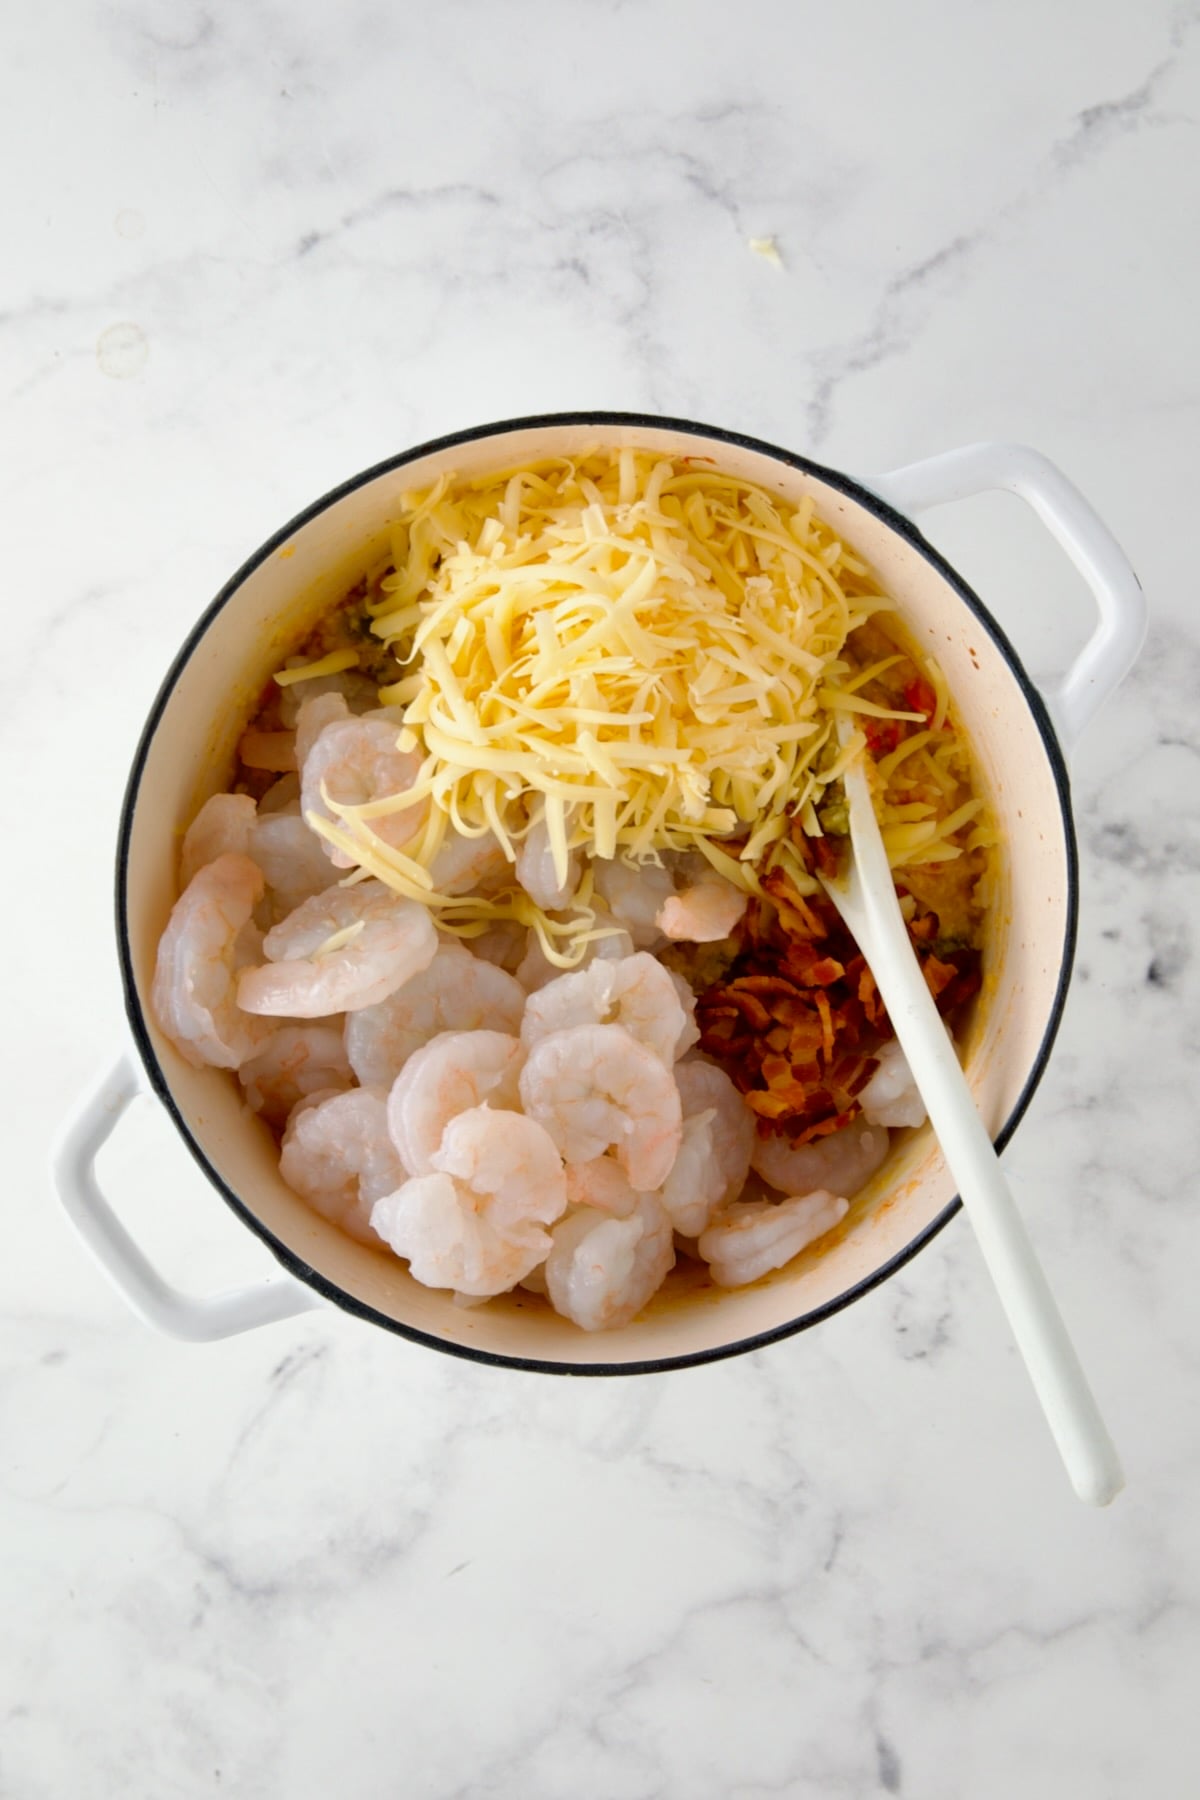
- Add the the shrimp, bacon, and 1 cup cheese …
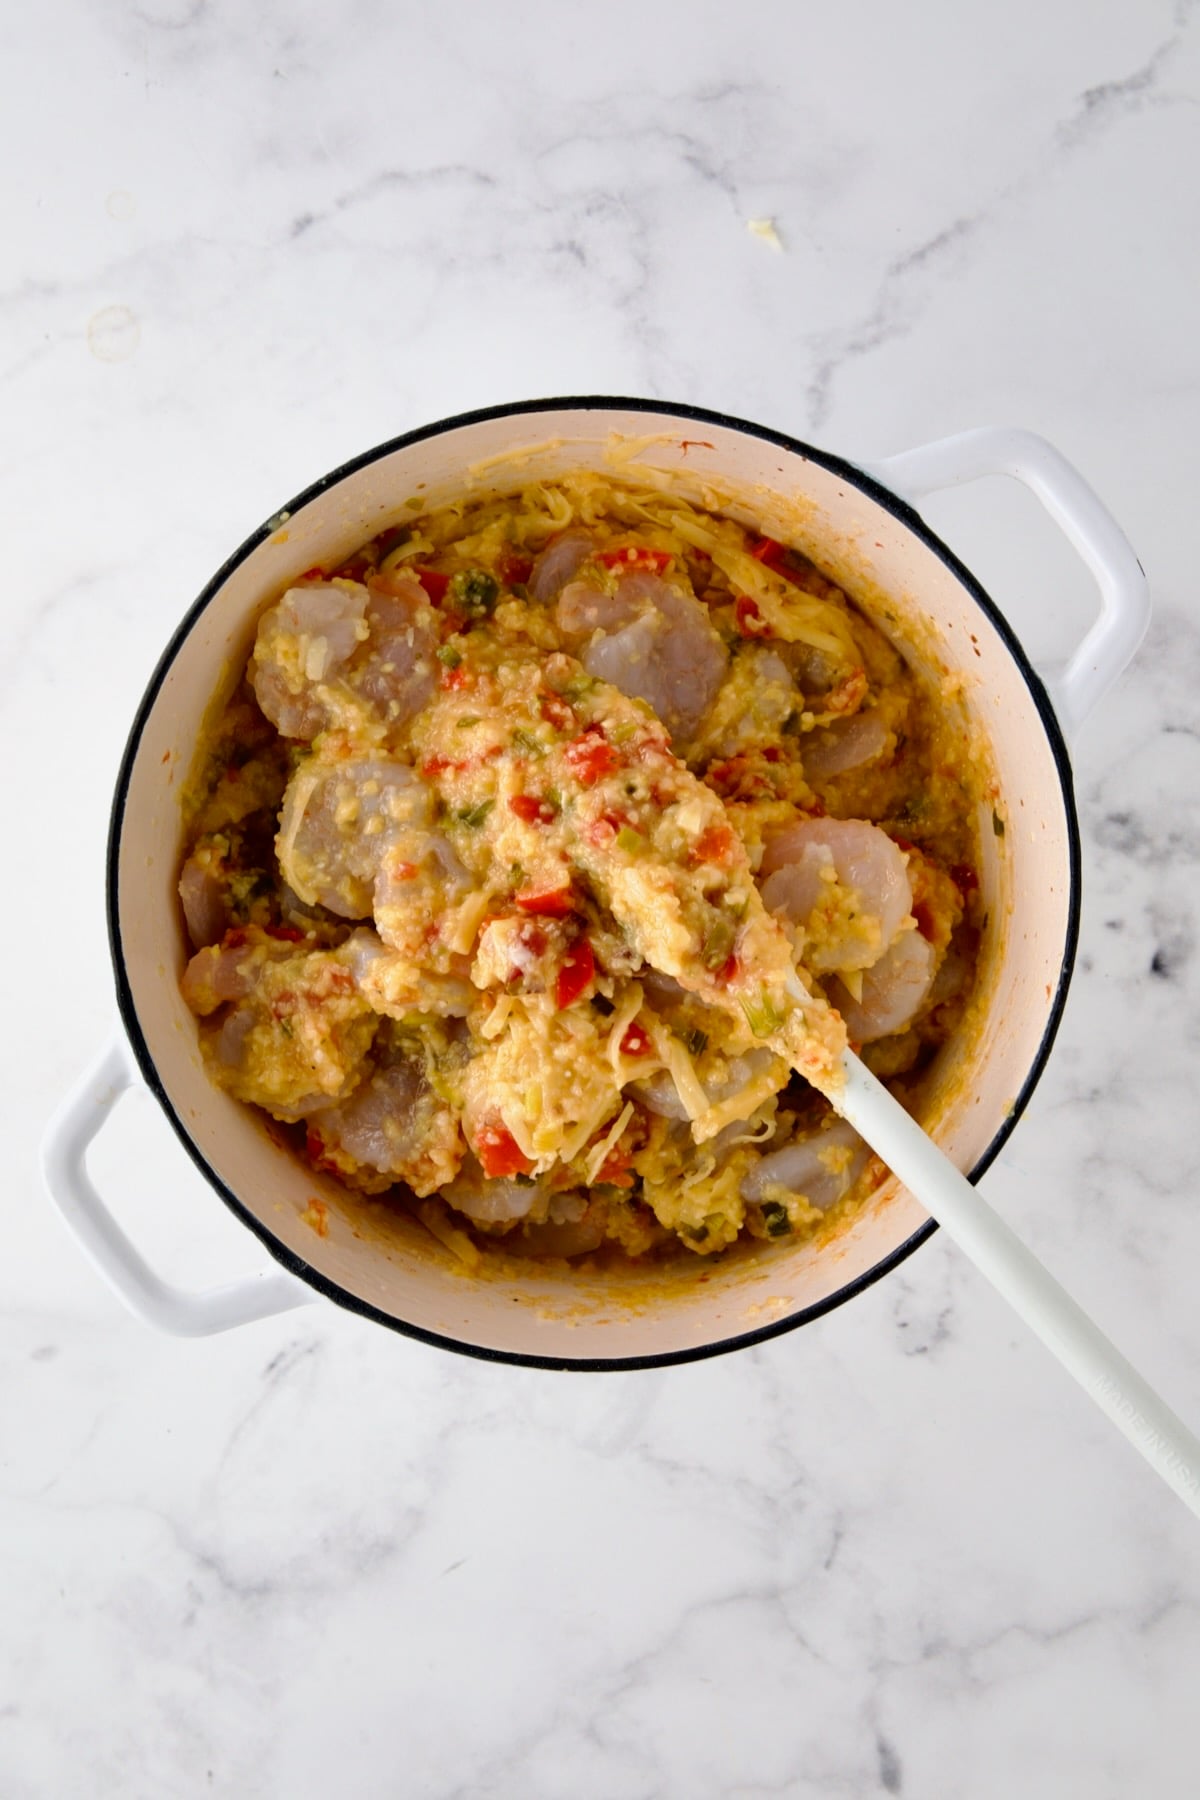
- … and fold it in.
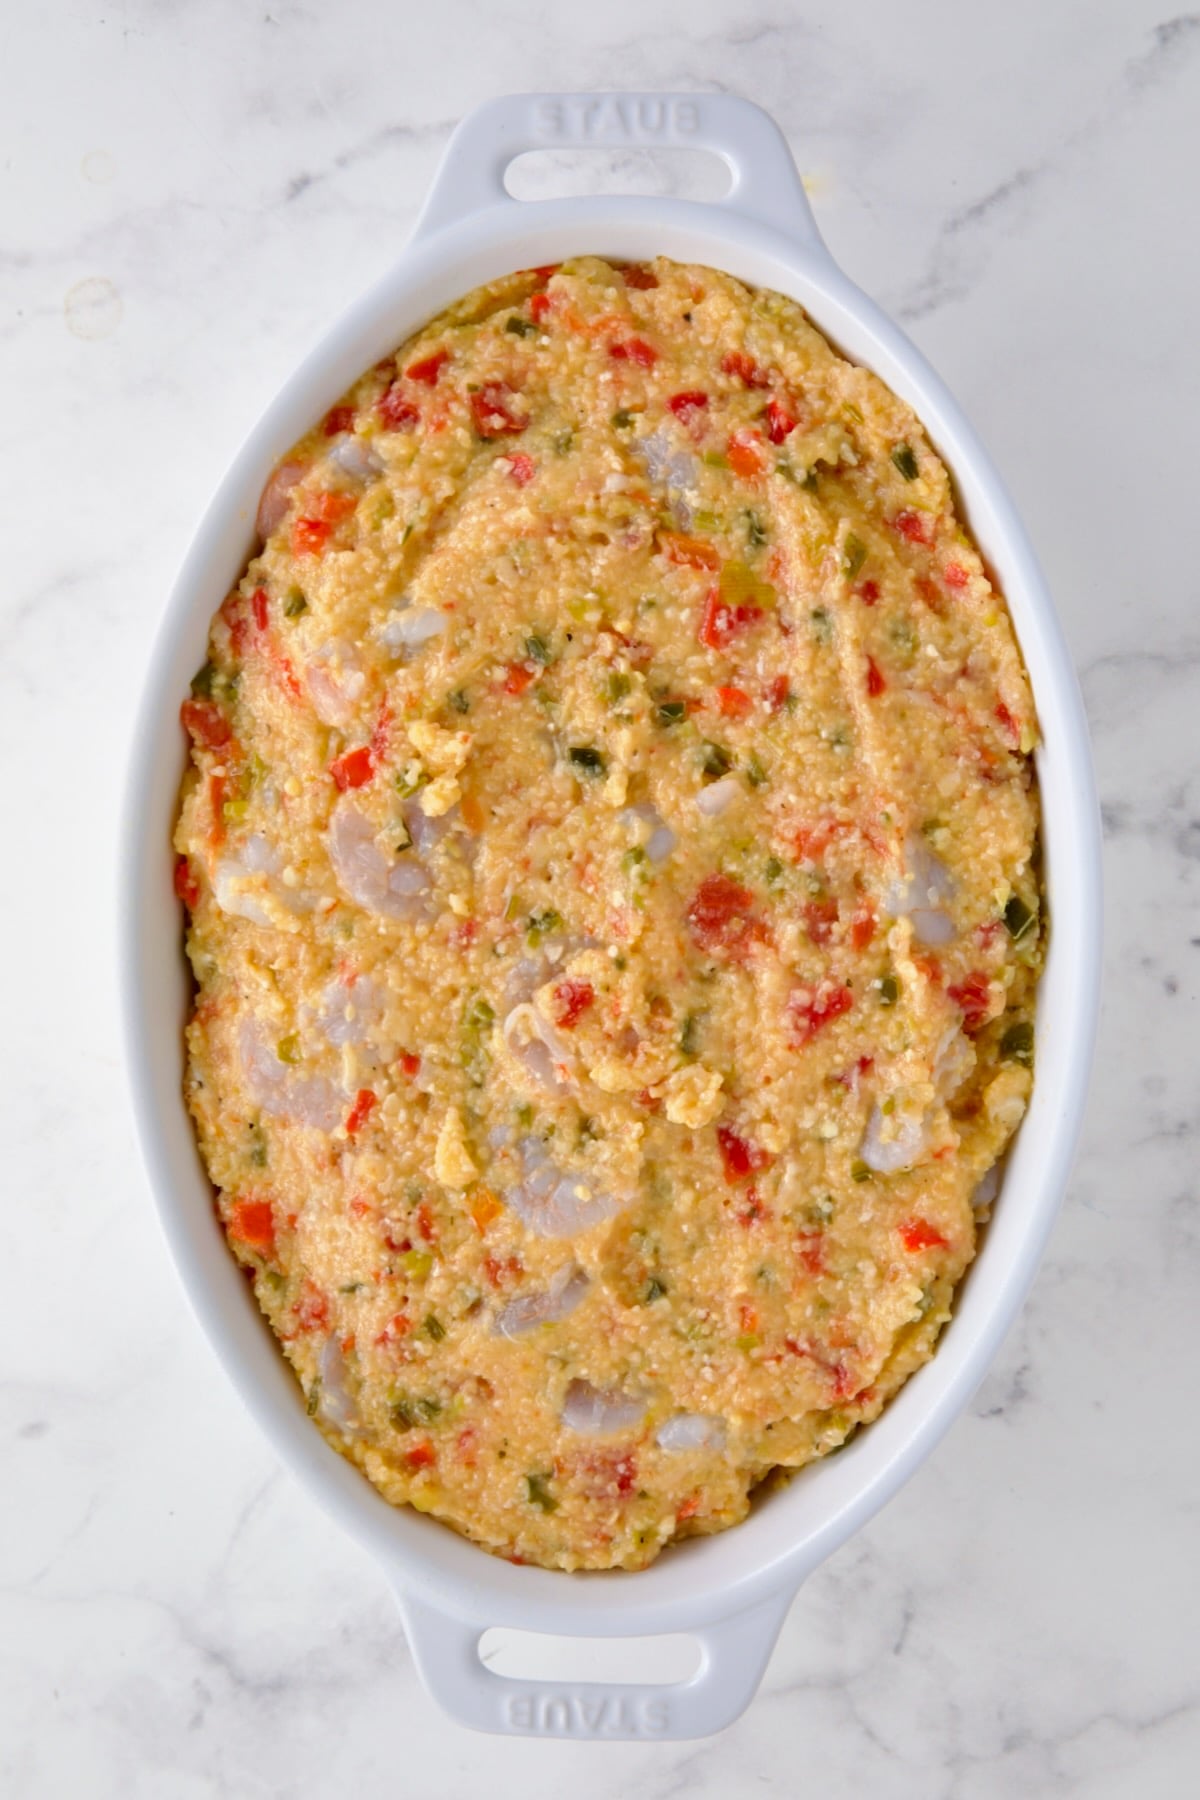
- Transfer to the prepared baking dish with more grits on the top than shrimp.
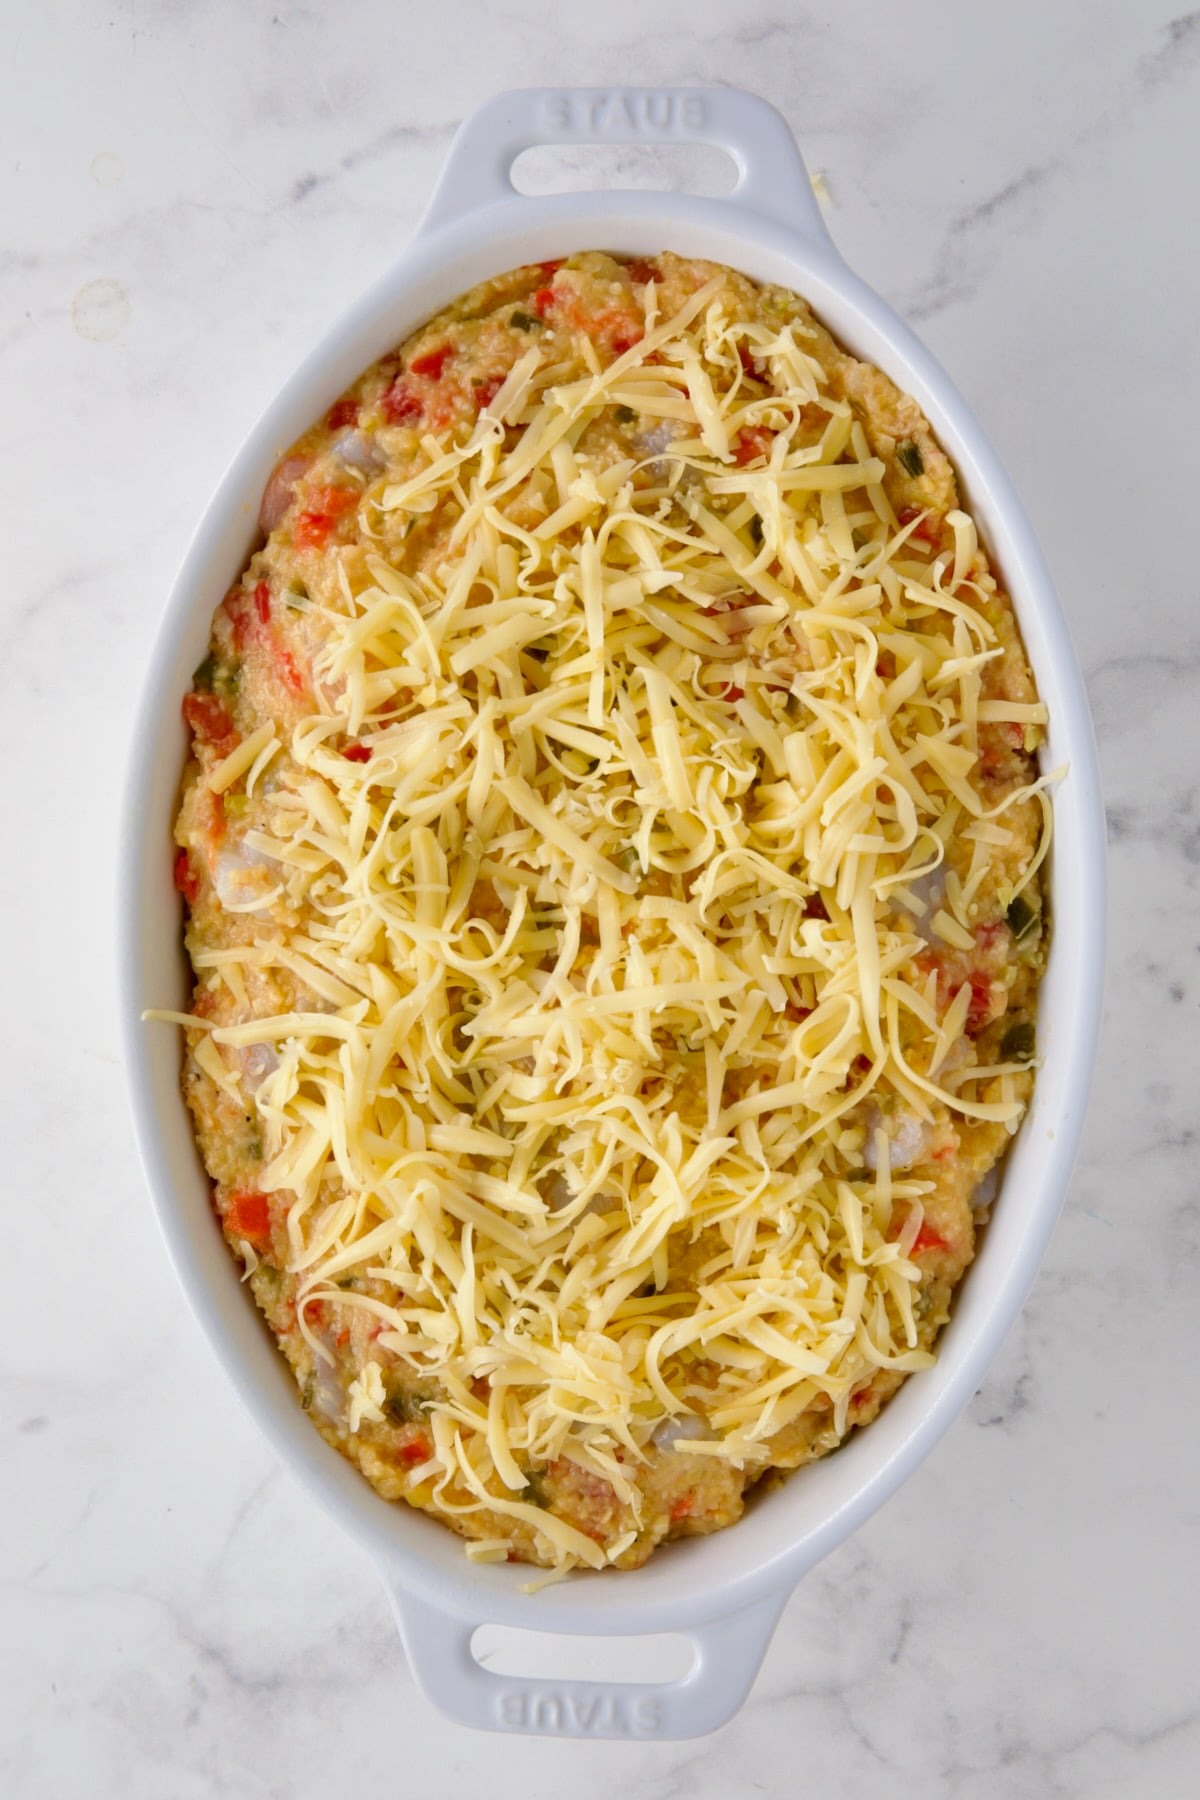
- Sprinkle with the remaining 1/2 cup cheese.
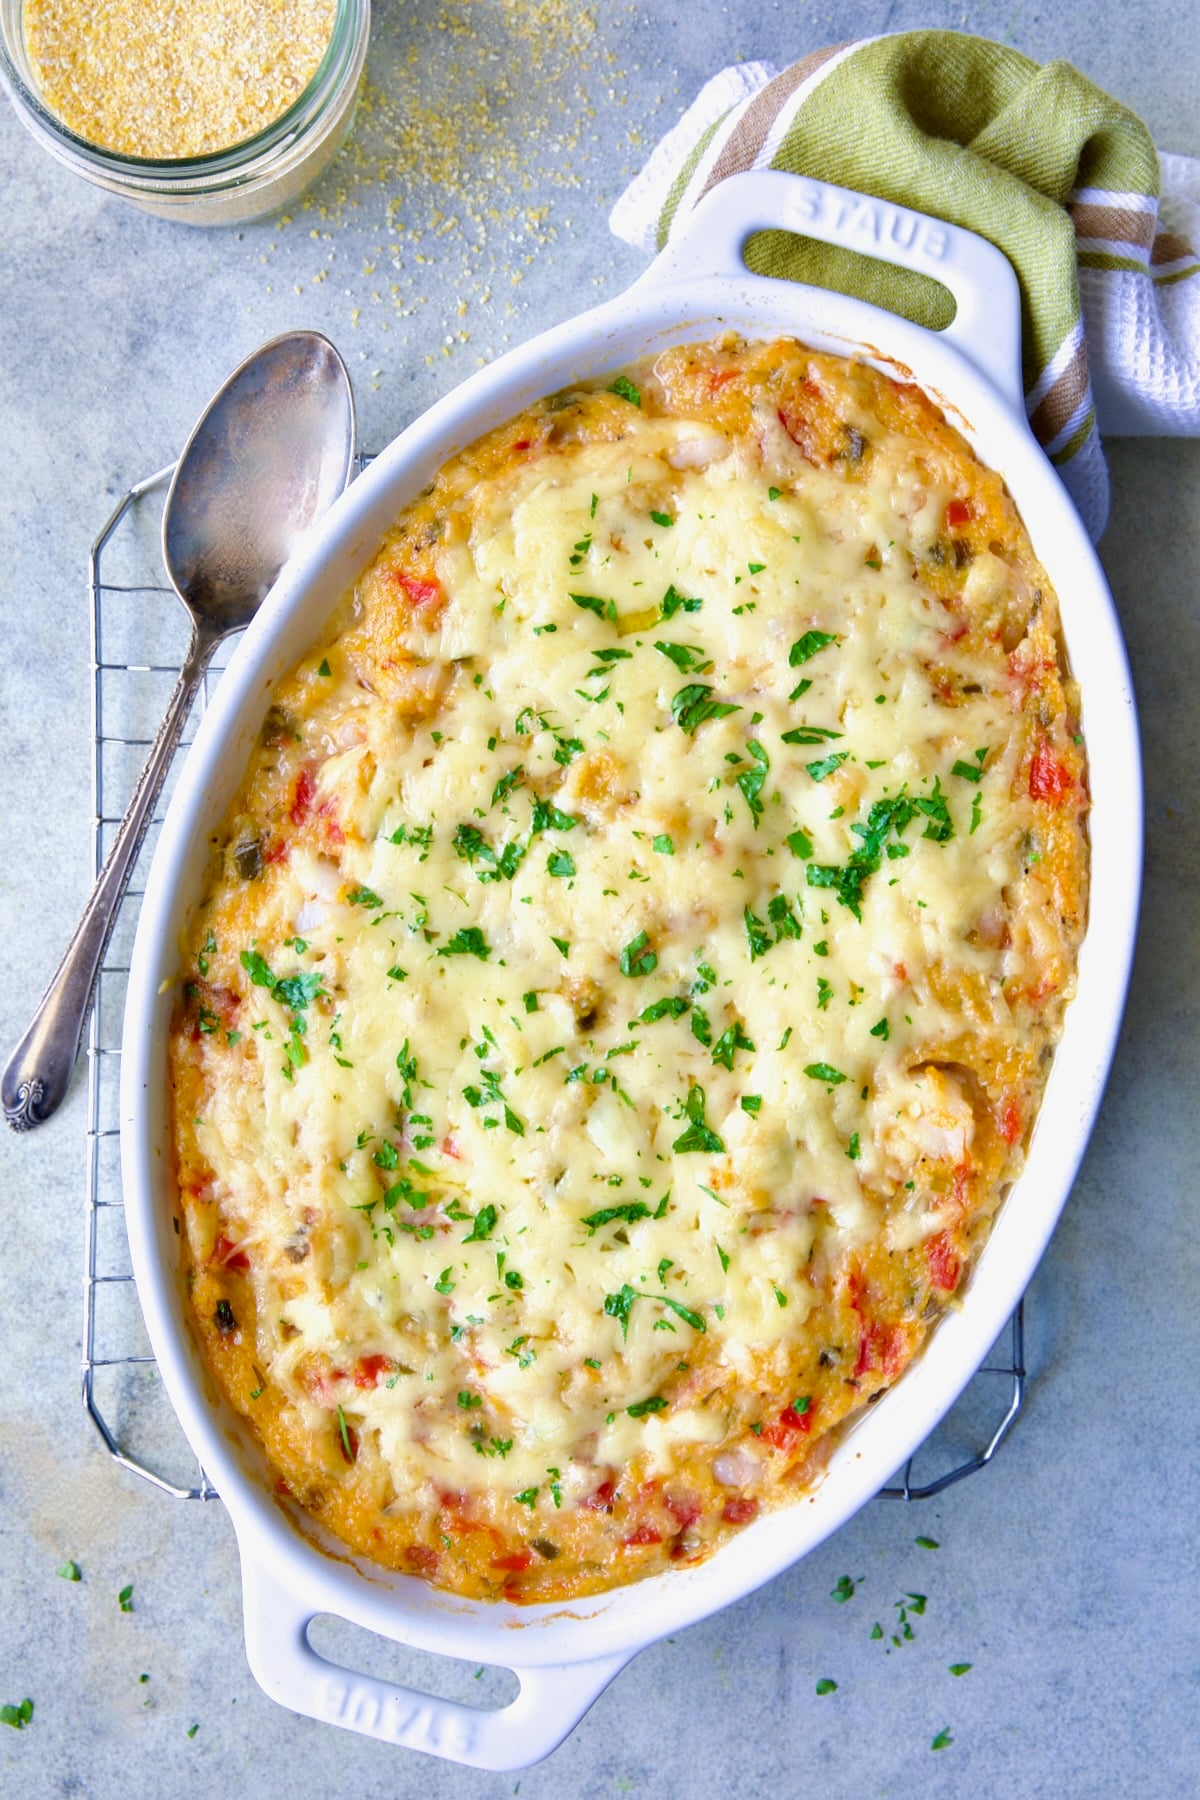
- Bake for 30 to 35 minutes or until heated through and bubbling. The casserole should be set around the perimeter with an internal temperature of at least 165 degrees. Let stand 5 to 10 minutes before serving
Chef Tips and Tricks:
- A shallow 1½ to 2-quart dish works best. Deep baking dishes take longer to set.
- Nearly all commercial shrimp sold is individually quick-frozen. The shrimp sold in the seafood display case has likely been thawed. If purchasing thawed shrimp, be sure to use it within a day or two and don’t refreeze it. I prefer to purchase frozen shrimp and thaw it myself.
- Be very careful not to overcook the shrimp. You don’t need to boil the shrimp; boil the water. Generously salt the water and get it to a rolling boil. Then, turn the heat off. Drop the shrimp into the water, stir it, and when the shrimp turns barely opaque (which happens quickly), remove it and cool it either under cold tap water or in an ice bath.
- The grits should be thick and spoon-standing before anything else is added. Undercooking the grits can result in a soupy casserole. (See Step #6 and how the grits hold their form.)
- Taste and season the grits with salt before adding the egg/cornstarch and remaining ingredients.
- The egg/cornstarch must be added in a separate step, rather than mixing it in with the bacon, shrimp, and cheese, so it distributes evenly throughout the grits. This ensures even distribution and proper binding. It’s also essential to let the grits cool for 15 minutes before adding the egg. If you add it too quickly, the egg could scramble. This also gives the grits additional time to thicken up before the egg (which is liquid) is added.
- Bake uncovered so excess moisture can evaporate. However, if the cheese browns too much, cover it loosely with aluminum foil.
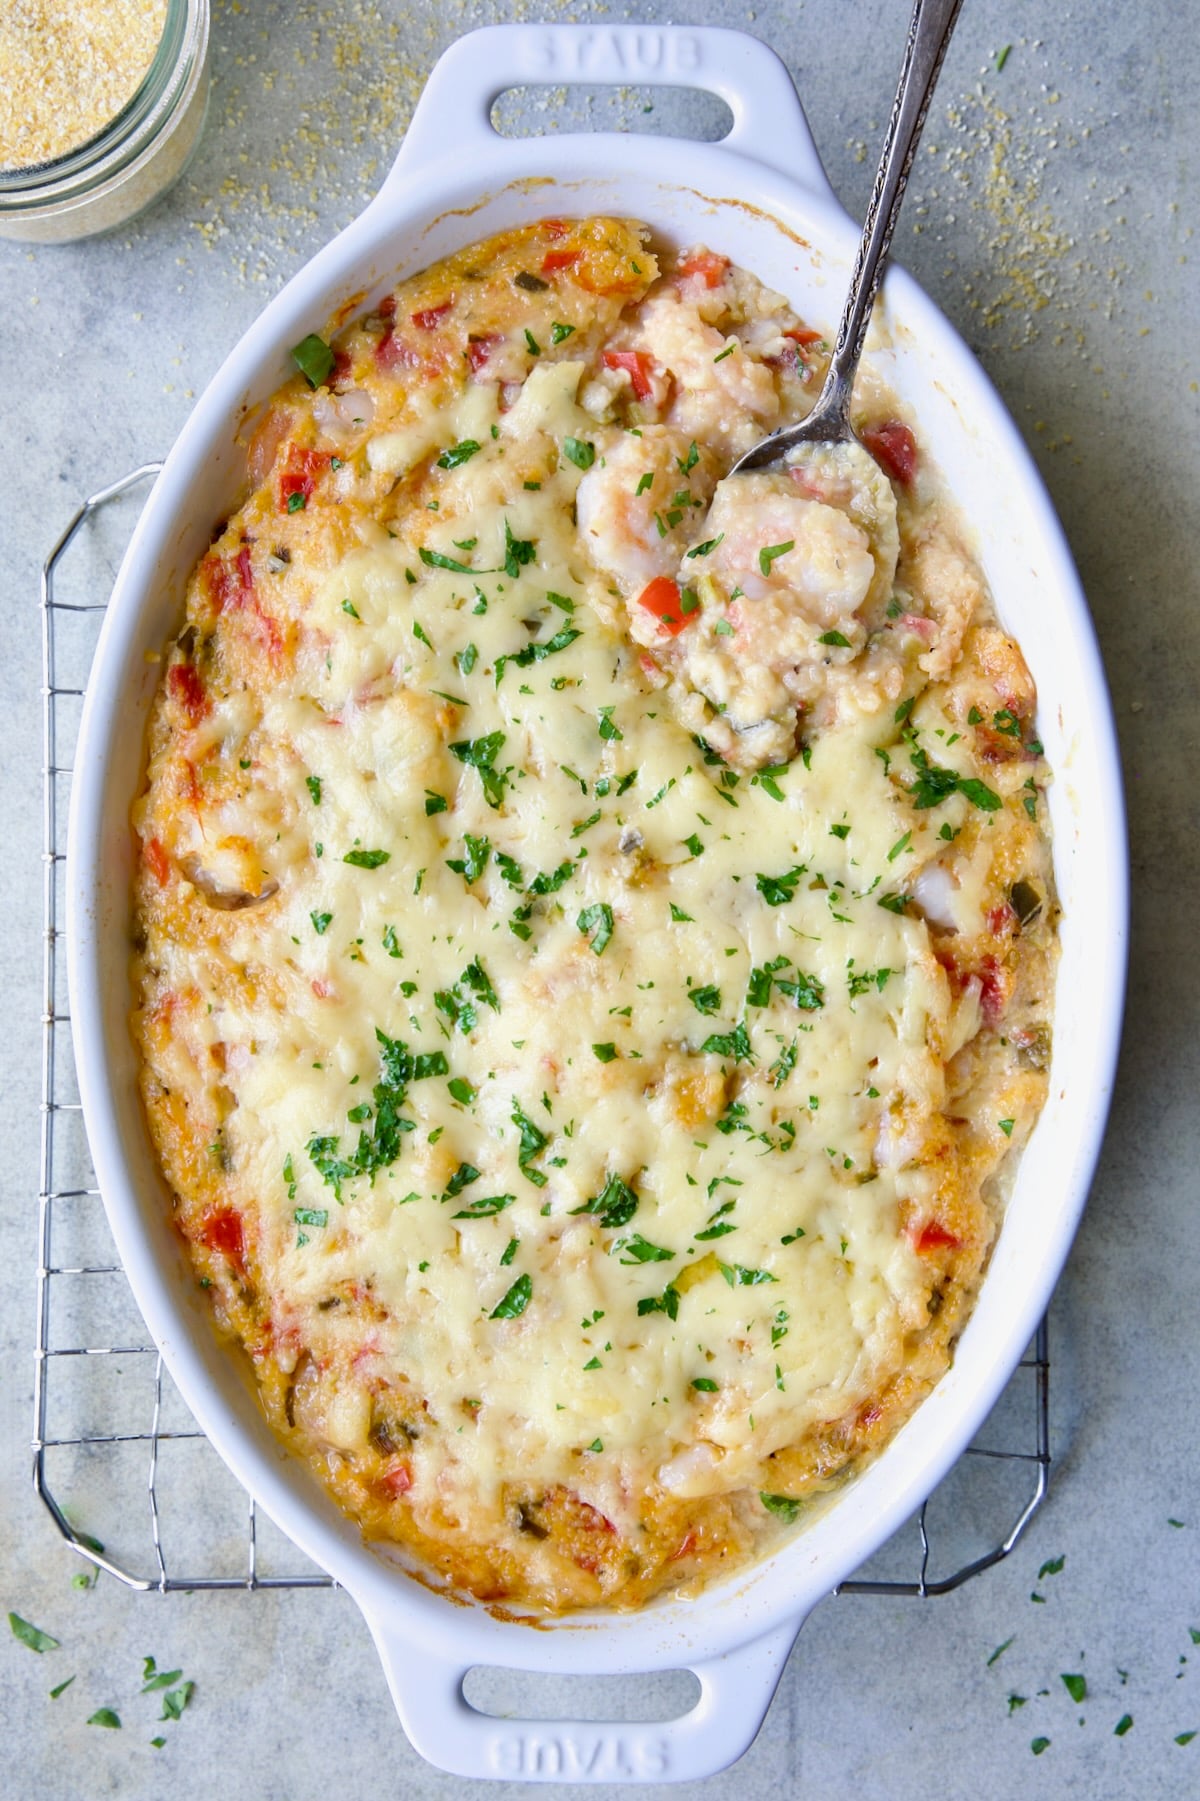
- Let the casserole rest for 5 to 10 minutes before serving so the grits firm up. The perimeter of the casserole should be set, with the interior remaining creamy.
Recipe FAQs:
Yes. However, stone-ground grits require a much longer cooking time, so prepare them separately according to the package directions before incorporating the vegetable mixture and remaining ingredients.
Yes, I highly recommend it. Uncooked shrimp can create additional liquid, resulting in a soupy casserole. There is also a food safety concern. As long as you use wild-caught shrimp, don’t boil the shrimp, overcook it, and cool it promptly; it will hold up well to being reheated in the casserole.
Yes, I recommend it. I tested a batch of grits without the egg, and they were dense after baking.
A shrimp and grits casserole can turn out soupy for several reasons:
>>The grits were not completely cooked, and the grits mixture was not thick enough.
>>There is too much liquid. Excess moisture from ingredients like shrimp, vegetables, or tomatoes can thin the mixture if they aren’t well-drained first. The typical ratio of quick grits to liquid is 1/4 cup of grits to 1 cup of liquid. This shrimp and grits casserole recipe uses 3/4 cup of grits to 2 cups of liquid, so the extra 1/4 cup of grits helps absorb any additional moisture released by the vegetables and shrimp.
>>The casserole was made ahead of time and covered before it completely cooled, allowing steam to drip back down onto the casserole.
>>The casserole was covered while baking.
>>The resting time was skipped. Letting the casserole sit for 10 to 15 minutes before serving allows the grits and eggs to finish firming up, often fixing what looks like a soupy texture straight out of the oven.
Yes, it can be assembled 24 hours in advance. Let it cool completely before covering it for refrigeration so condensation doesn’t drip onto the casserole, which can make it soupy. Let it sit at room temperature for 30 minutes before placing it in the oven.
Bake uncovered so moisture can evaporate. Cover loosely if the cheese is starting to look brown. Baking time may be longer if the casserole is super cold from the refrigerator.
Yes, cool uncovered, wrap securely, and freeze. Thaw in the refrigerator for at least 24 hours. Let the casserole sit at room temperature for 30 minutes or so before placing it in the oven.
Bake uncovered so moisture can evaporate. Cover loosely if the cheese is starting to look brown. Increase baking time if the casserole is super cold.
Serve with:
- Garlic Green Beans
- Easy Braised Southern Greens Recipe
- Grilled Corn Succotash
- Fried Cabbage with Bacon
More shrimp and grits recipes:
- Smothered Shrimp and Andouille Sausage with Creamy Parmesan Peppercorn Grits
- Cauliflower Grits with Gouda Cheese and Blackened Shrimp
- Pumpkin, Chipotle and White Cheddar Grits with Bacon-Wrapped Shrimp
Get all my fish and seafood recipes at Fish and Seafood Recipes – From A Chef’s Kitchen.
Shrimp and Grits Casserole
Video
Ingredients
- Cooking spray, butter or oil, for the baking dish
- 1 pound medium-large uncooked shrimp (31-40 count), peeled, deveined and tail removed
- Salt and freshly ground black pepper
- 2 slices bacon, chopped
- 3 tablespoons butter
- 1 bunch scallions (medium-width), white and light-green part only, chopped (scant 1 cup)
- 1 small red bell pepper, chopped (scant 1 cup)
- 1 medium jalapeño pepper, seeded if desired, finely chopped
- 3 cloves garlic, minced
- 1 can (10-ounce) diced tomatoes with green chiles, drained
- 2 cups chicken broth, or fish stock
- 3/4 cup quick-cooking grits, not instant
- 1 large egg, beaten
- 1 tablespoon cornstarch
- 1 1/2 cups shredded Gouda cheese, divided
- Chopped fresh parsley, for garnish (optional)
Instructions
- Preheat oven to 375 degrees. Lightly grease a 1 1/2 – 2-quart baking dish. Set aside.
- Cook the shrimp: Place a colander in the sink to drain the shrimp. Then, bring a large, heavy saucepan of well-salted water (about 2 teaspoons) to a boil. Turn off the heat, add the shrimp, and cook for 10-15 seconds, or until they turn pink, stirring once or twice. Drain immediately into the colander and cool quickly under cold tap water. Alternatively, prepare an ice bath and cool the shrimp in that. Drain the shrimp and pat dry.
- In a heavy saucepan, cook the bacon over medium heat until browned and crispy. Transfer the bacon to a paper towel-lined plate with a slotted spoon, reserving the drippings in the saucepan.
- Keep the heat on medium and add the butter to the bacon drippings. When melted, add the scallion, red bell pepper, and jalapeño pepper. Cook for 4-5 minutes or until softened.
- Stir in garlic, diced tomatoes with chiles, and chicken broth (or fish stock). Bring to a boil.
- Slowly stir in the grits. Return to a boil.
- Reduce the heat to low. Simmer, stirring occasionally, for 5-7 minutes or until thickened. Remove from heat and cool 15 minutes.
- Taste and season to taste with salt and black pepper.
- Whisk the cornstarch into the egg, then stir it into the grits and fully incorporate.
- Fold in the shrimp, bacon, and 1 cup cheese. Transfer to the prepared baking dish with more grits on the top than shrimp. Sprinkle with the remaining 1/2 cup cheese.
- Bake for 30-35 minutes or until heated through and bubbling. The casserole should be set around the perimeter with an internal temperature of at least 165 degrees. Let stand 5-10 minutes before serving
Notes
- It’s essential to always use wild-caught U. S. Gulf shrimp. They are much more resilient to reheating in a casserole, unlike farmed shrimp, which WILL become rubbery.
- If using stone-ground grits, cook them separately following the package directions. Then, add the vegetable combination and the remaining ingredients.
- Quick-cooking grits (not instant) work because of the other textures.
- I don’t recommend instant grits for this dish. They cook too fast and can turn mushy quickly.
- If you don’t consume pork, use turkey or beef bacon. You can also use diced andouille sausage.
- You can substitute regular, drained, petite diced tomatoes if you want to dial down the heat.
- Can use fish stock in place of chicken broth.
- Smoked Gouda, Monterey Jack, or Pepperjack will also work well.
- Can be assembled 24 hours in advance. Let cool completely before covering for refrigeration so condensation doesn’t drip onto the casserole, which can make it soupy.
- Let it sit at room temperature for 30 minutes before placing it in the oven.
- Bake uncovered so moisture can evaporate. Cover loosely if the cheese is starting to look brown.
- Baking time may be longer if the casserole is super cold from the refrigerator.
- Cool, wrap securely, and freeze.
- Thaw at least 24 hours in the refrigerator.
- Let the casserole sit at room temperature for 30 minutes or so before placing it in the oven.
- Bake uncovered so moisture can evaporate. Cover loosely if the cheese is starting to look brown.
- Increase baking time if the casserole is super cold.
Nutrition
Nutritional values are automatically calculated using unbranded products and are estimates only. Actual results may vary based on ingredients used and portion sizes. Adjust as needed for dietary restrictions, allergies, or health concerns.
 Like this? Leave a comment below!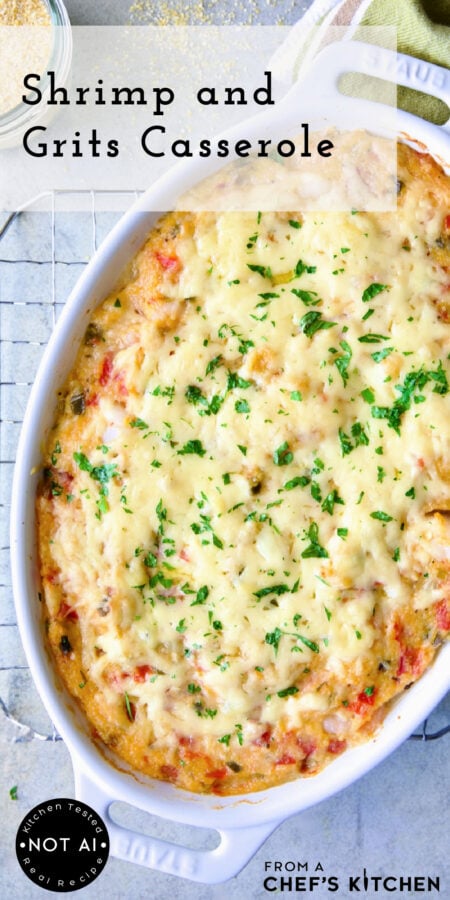



















OK I finally made this recipe it was delicious I did cook the shrimp in the casserole, I used stoneground grits which I made separately and added to the other ingredients, If you do this be sure and do not add the broth to the recipe. It was not too spicy but was very flavorful.
Thanks, Marilyn! Glad you enjoyed! Yes, if you cook the grits separately as you did, you won’t need to add any additional broth. Thanks again!
Hi! How many servings does this yield and can it be doubled ?
Hi, Elizabeth, Thanks so much for your question. The recipe yields 2-3 servings, but could probably stretch to 4. You definitely can double it, you’ll just need to increase the baking time. Thanks again and hope you enjoy!
Hi Can you do it with cauliflower instead of grits. If so, anything I need to know?
Hi, Laurie, Thanks so much for your great question. I haven’t done this specific recipe with cauliflower, but you may be interested in these two recipes: https://frontier-bridge.live/cauliflower-grits-gouda-blackened-shrimp/%3C/a%3E AND https://frontier-bridge.live/low-carb-jambalaya/%3C/a%3E%3C/p%3E
It probably would work fine, but in this case, I can’t know without testing it. I’ll certainly put it on my list to test, though! If you try it, please let me know how it worked. Thanks again!
My husband LOVED the flavors! It was my first time making grits and they did not turn out well, but he still loved this dish. Next time I will make the grits separate and fold them in. Mid Michigan isn’t a great place to find grits; my large grocery store only offered instant or fast 5 minutes grits. I got the 5-minute ones but they still didn’t turn out. Maybe I will purchase better quality ones online next time.
The shrimp I bought is large, peeled and deveined with tail ON….is that ok? Also adding Andouille sausage. Should I pre-brown or just add in? And how much of it is ok to add? Thanks!
Hi, Michelle, Thanks so much for your question. I would definitely get the tails off the shrimp. You don’t want your guests/family to have to take those off while eating a casserole. It’s possible a piece or two from the tail could come off in the casserole which would not be very pleasant for someone. Regarding the Andouille sausage, it depends on if your sausage is precooked or not. If it’s precooked, you could probably just add it in. If you’re putting in bacon, you’ve already got a meat factor going on, so it depends upon how much sausage you want in your casserole. Thanks again and hope you all enjoy!
My husband LOVED the flavors! It was my first time making grits and they did not turn out well, but he still loved this dish. Next time I will make the grits separate and fold them in. Mid Michigan isn’t a great place to find grits; my large grocery store only offered instant or fast 5 minutes grits. I got the 5-minute ones but they still didn’t turn out. Maybe I will purchase better quality ones online next time.
Thanks so much, Michelle! So glad you and your husband enjoyed. I’m not even sure I would be able to find grits where I come from which is central Wisconsin! Thanks again and you should be able to find better ones online.
Hi Michelle! When cooking grits, it is important to use 3 parts liquid to 1 part Grits. The grits must be whisked to prevent clumping. People often use chicken or seafood broth for the liquid and always add a little butter. You can purchase good quality grits on Amazon from places like South Carolina, where “Shrimp and Grits” originated. I hope this helps! Good Luck😊
I just made your recipe and it was so good. I make it in advance how ever it tended to be a little soupy. Any suggestions? The flavor was excellent.
Hi, Linda, Thanks so much for your feedback. I just reread some of the other comments because I recalled someone else saying it was more firm when baked immediately, but a little looser when baked later. You and this other commenter are the first I heard of that happening to. I don’t have an answer for you right now. I’m going to check with the friend of mine whose recipe inspired this one and see what she thinks. She made it ahead for us when I was injured as I mentioned in the write-up and it was perfect. One would think it would be just the opposite because of the starch in the grits. I’m thinking the fix for that would be to not add as much chicken broth if making ahead of time. If you don’t add the top cheese, you could always add more of the chicken broth before baking if it appeared too “stiff.” Thanks again and if I have any more information, I’ll post it here.
I baked mine right away and it was pretty soupy. Flavor was outstanding.
Hi, Kathy, Thanks so very much! Not sure why the soupiness again, but will definitely be testing again soon. Thanks again but looks like you still enjoyed very much!
The shrimp are supposed to be cooked before they bake?
Hi, Julie, Thanks for your question. That’s how I prefer to do it. I use wild-caught shrimp which I feel has a better texture than farm-raised. If you read through the comments, I believe someone did put them in raw and the casserole was fine. It’s really up to you how you wish to do it. Thanks again and hope you enjoy!
For the make-ahead and freeze-
Do you finish it completely then wrap and freeze and reheat when ready to eat?
Or just finish to the part of adding the last ingredients then freeze?
Thanks for your help. This looks so good.
Sally
Hi, Sally, Thanks so much for your question! Get it all assembled to the point of baking and cool it down thoroughly. Any condensation is going to cause ice crystals and potentially freezer burn. Then, thaw in the refrigerator and bake it off. Thanks again and hope you enjoy!
For the make-ahead and freeze-
Do you finish it completely then wrap and freeze and reheat when ready to eat?
Or just finish to the part of adding the last ingredients then freeze?
Thanks for your help. This looks so good.
Sally
Love this! It’s my new favorite go-to for potlucks, only I double the ingredients and make two 8×8″ dishes. One for the party and one for later.
My only tweaks: Smoked gouda and a very light sprinkle of high-quality sweet paprika on top.
One observation: It tends to be more firm when baked immediately after preparation; more soupy when prepared in advance and kept chilled before baking. Perhaps longer baking would dry it out a bit, but when the aroma fills the kitchen we can’t wait to dig in and so haven’t tried baking it for much longer than the recommended time. It’s delicious either way.
Hi, Alex! Thank you SOO very much! So glad you enjoyed and I love the little tweaks you made. I love smoked gouda also but some people are not into smoky flavors. Love that you made it your own! Interesting about the casserole being a bit more “soupy” when made ahead; I hadn’t noticed that but that’s good for readers to know. Thanks again and please stay in touch!
Love this! It’s my new favorite go-to for potlucks, only I double the ingredients and make two 8×8″ dishes. One for the party and one for later.
My only tweaks: Smoked gouda and a very light sprinkle of high-quality sweet paprika on top.
One observation: It tends to be more firm when baked immediately after preparation; more soupy when prepared in advance and kept chilled before baking. Perhaps longer baking would dry it out a bit, but when the aroma fills the kitchen we can’t wait to dig in and so haven’t tried baking it for much longer than the recommended time. It’s delicious either way.